How to set up your clients via your reseller portal.
To set up a client account, a reseller needs to be logged in to the IDKit Reseller portal.
Here are the steps to set up a new client.
Step 1: Fill in the client data on the Client Management page
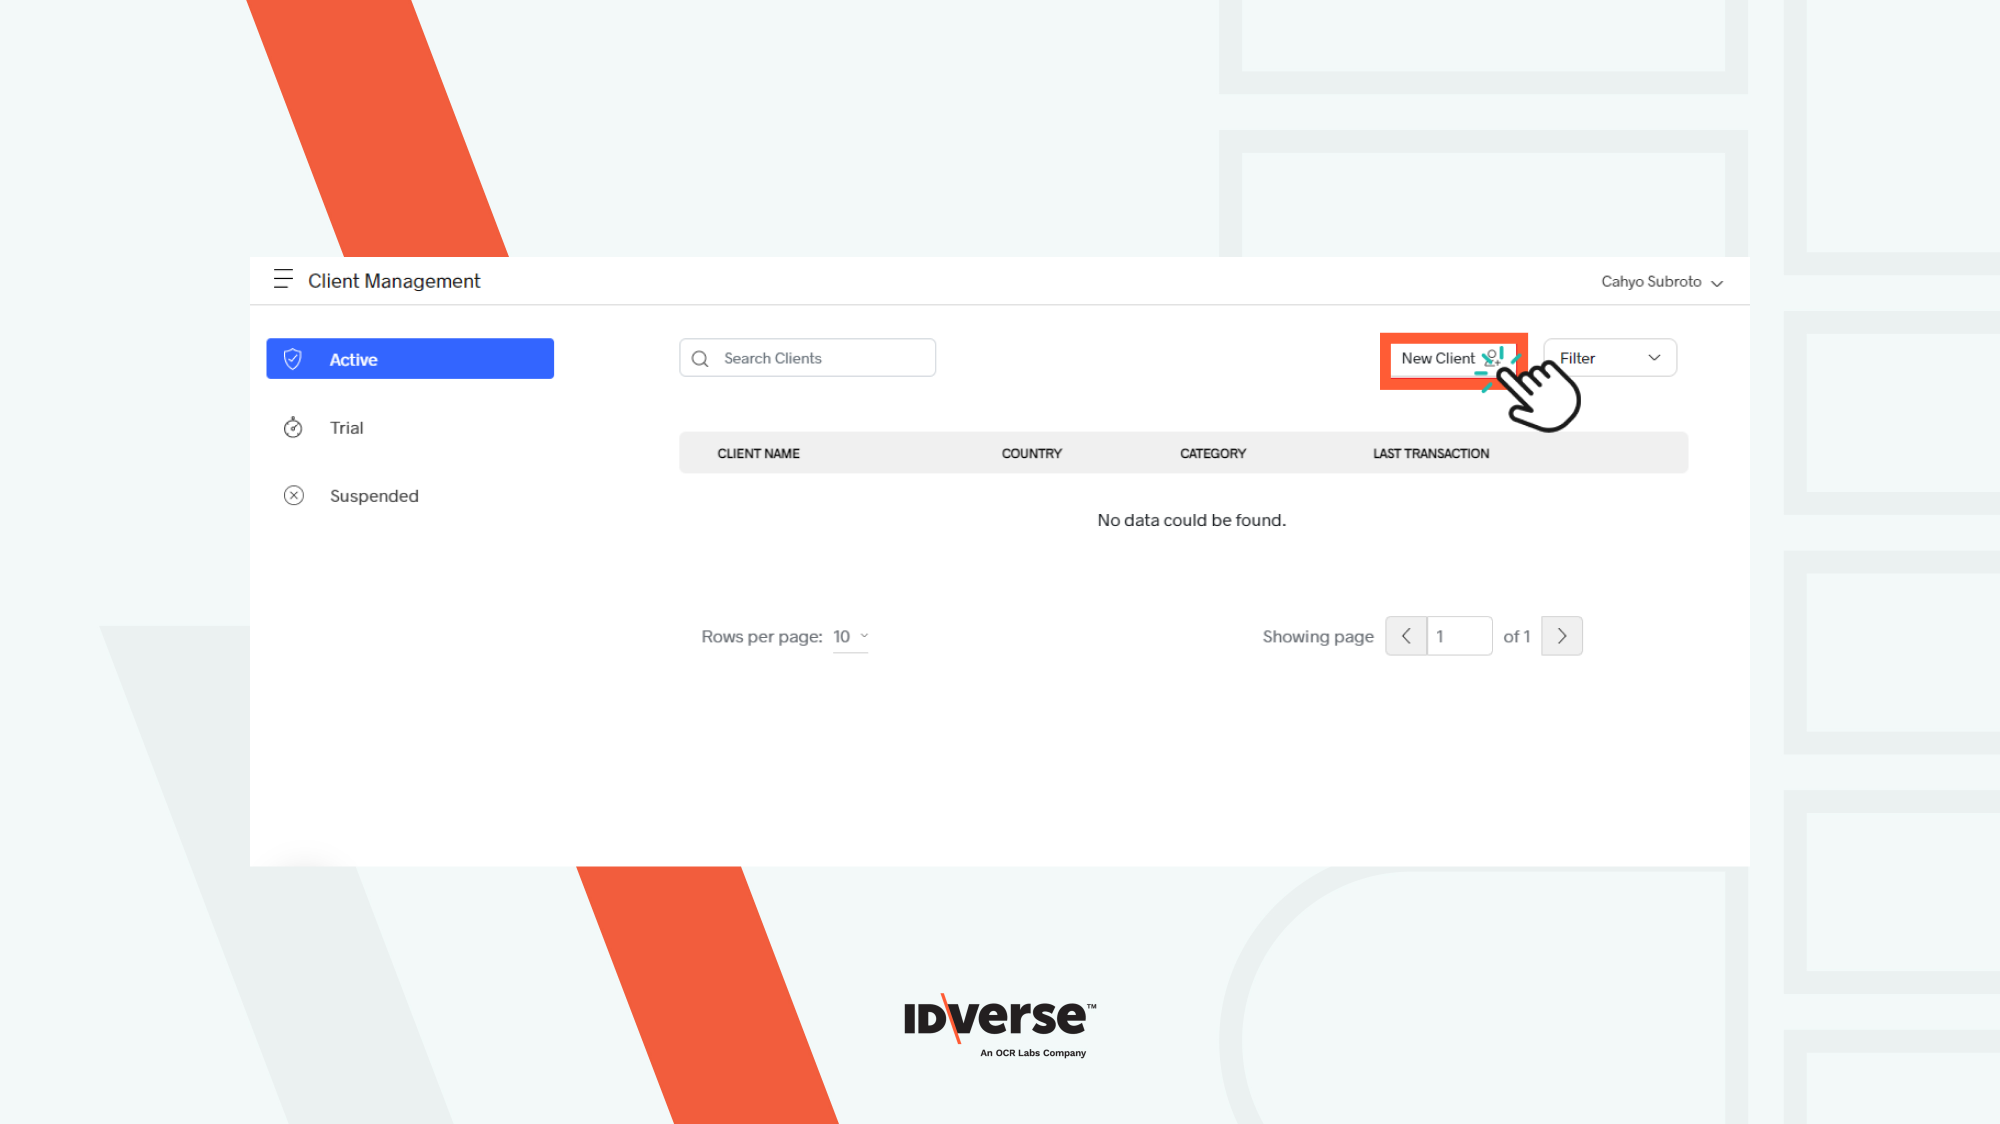
- Click the New Client button on the top right of the Client Management page. There, you will find the form you need to complete.
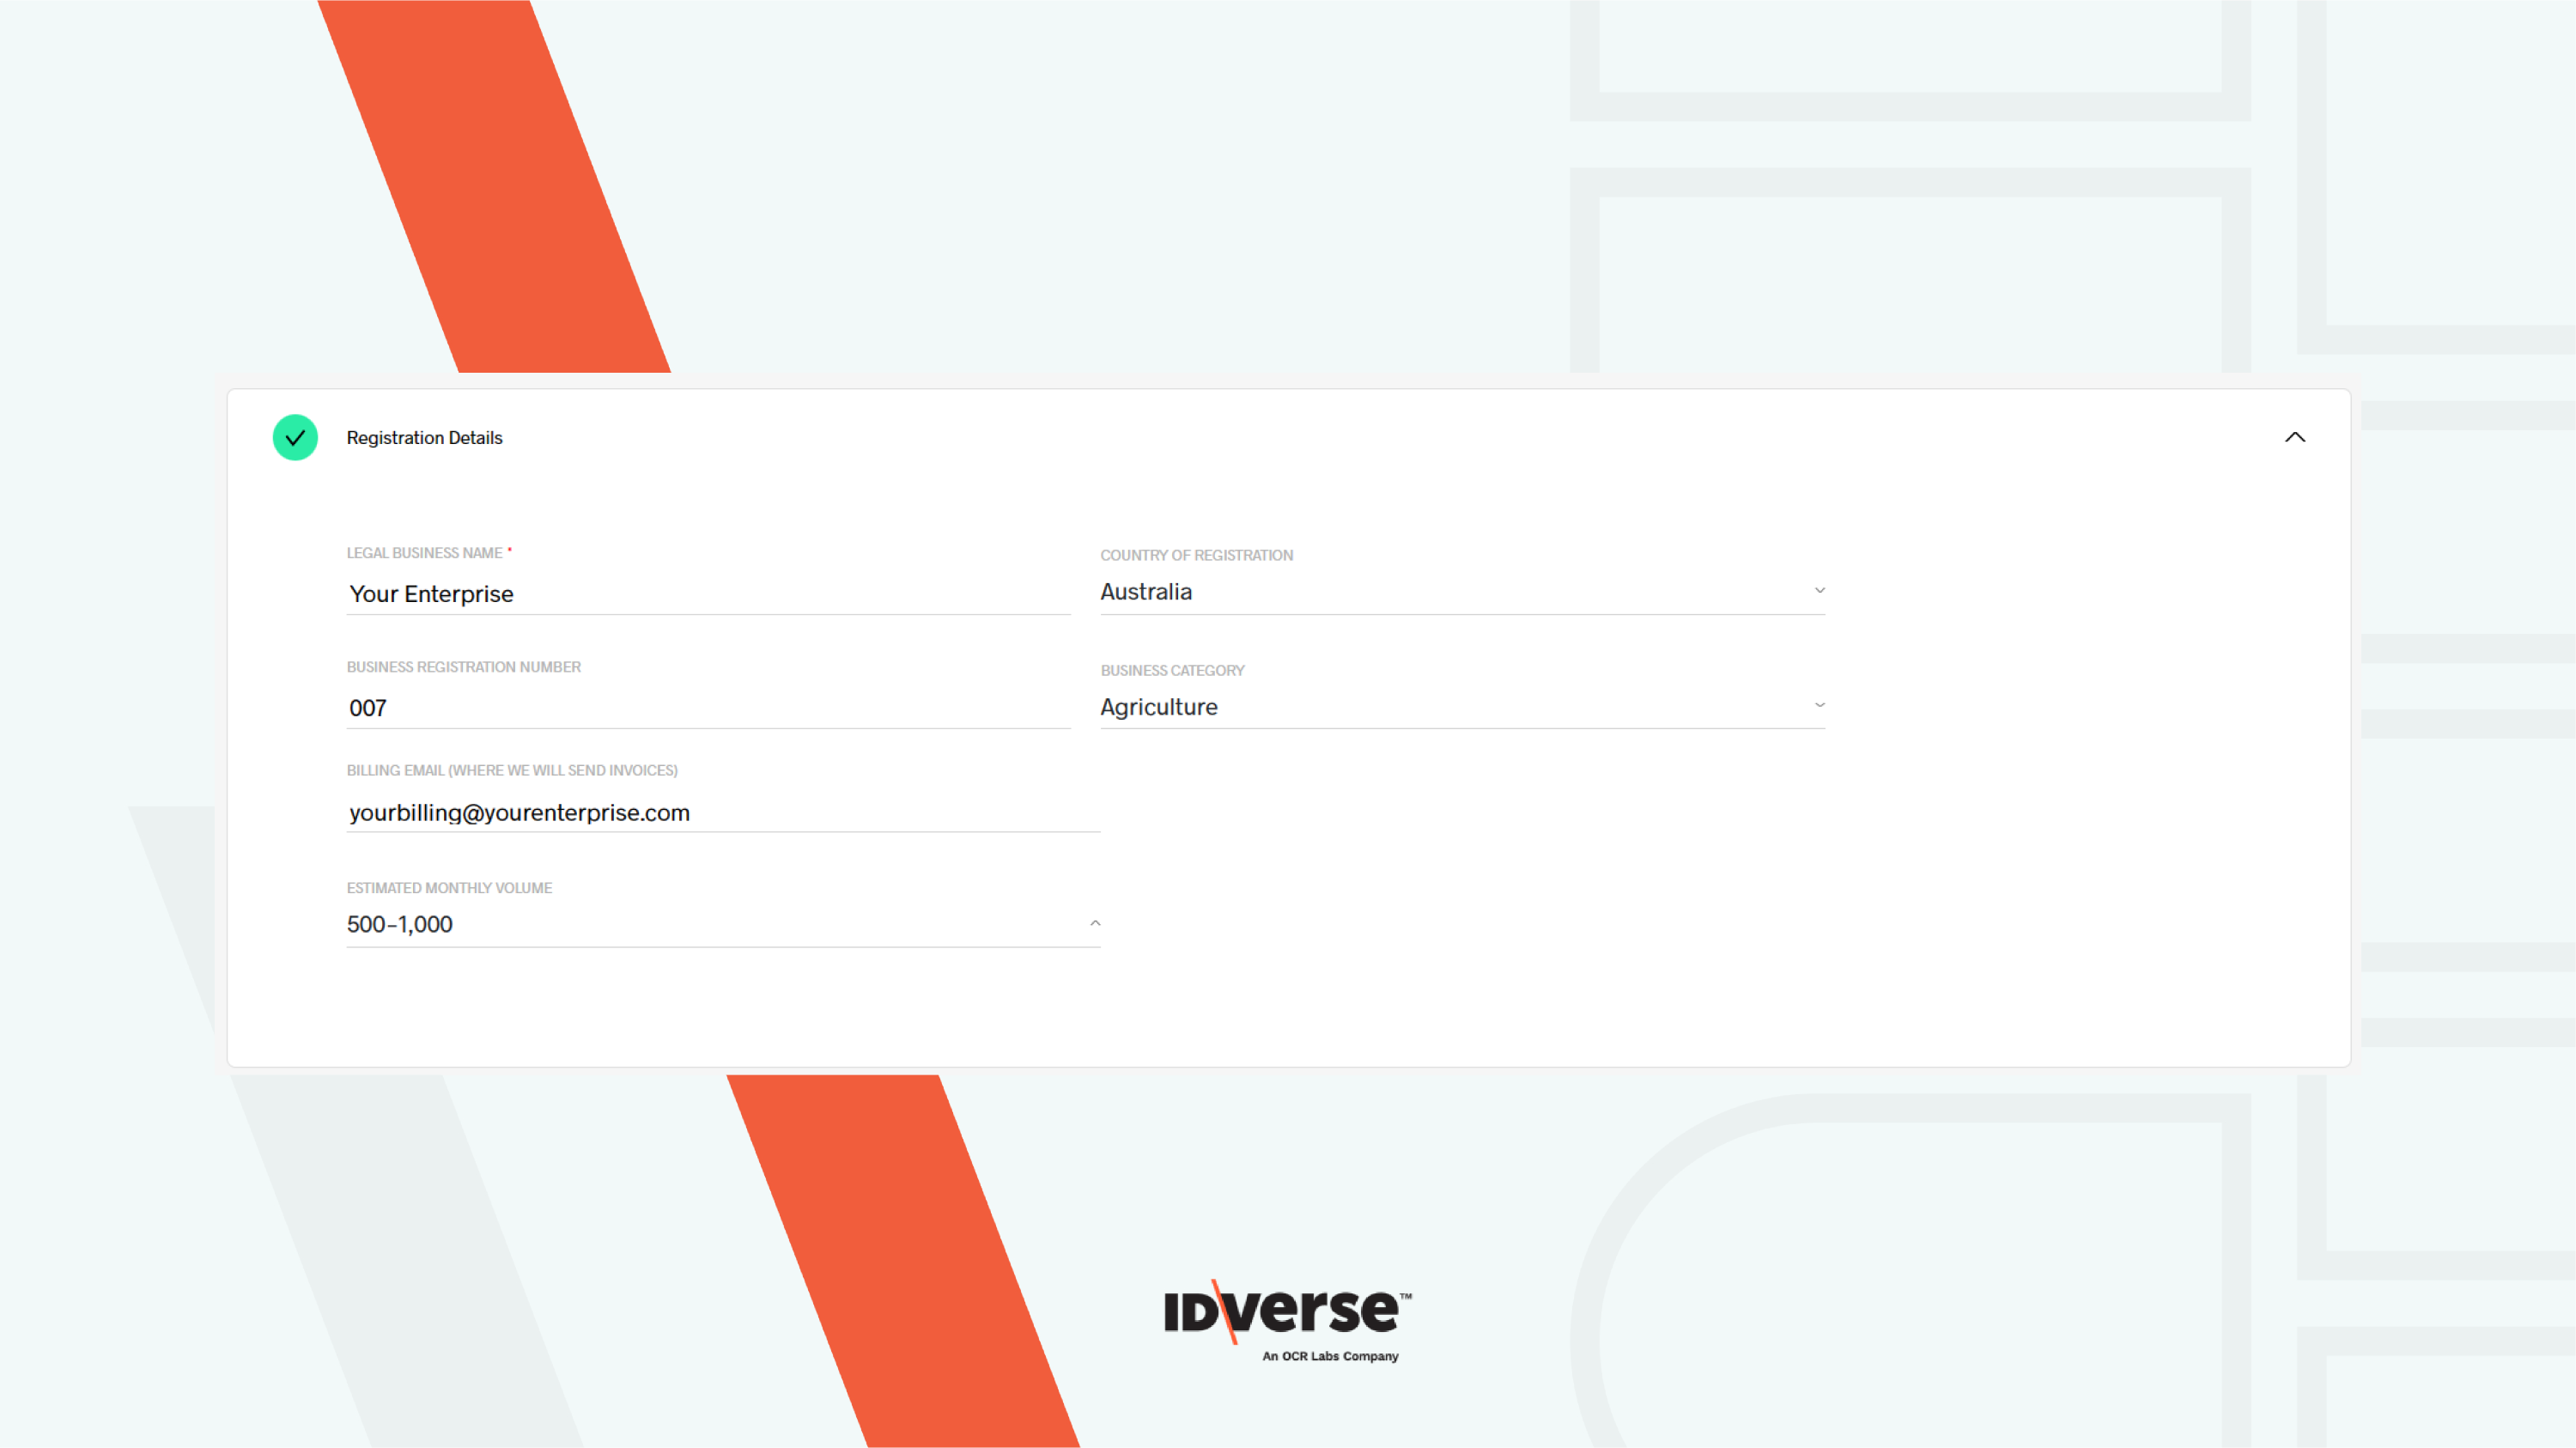
- Fill in the required data in the Registration Details section. You will be required to enter the following information:
- Legal Business Name (represents your official company name). It is a compulsory field.
- Country of Registration (where your business is being run from).
- Business Registration Number.
- Business Category (the field in which your business is running).
- Billing Email (the email address that the IDKit team will send the invoices to).
- Estimated Monthly Volume ( the expected amount of business activities a company anticipates conducting in a given month.).
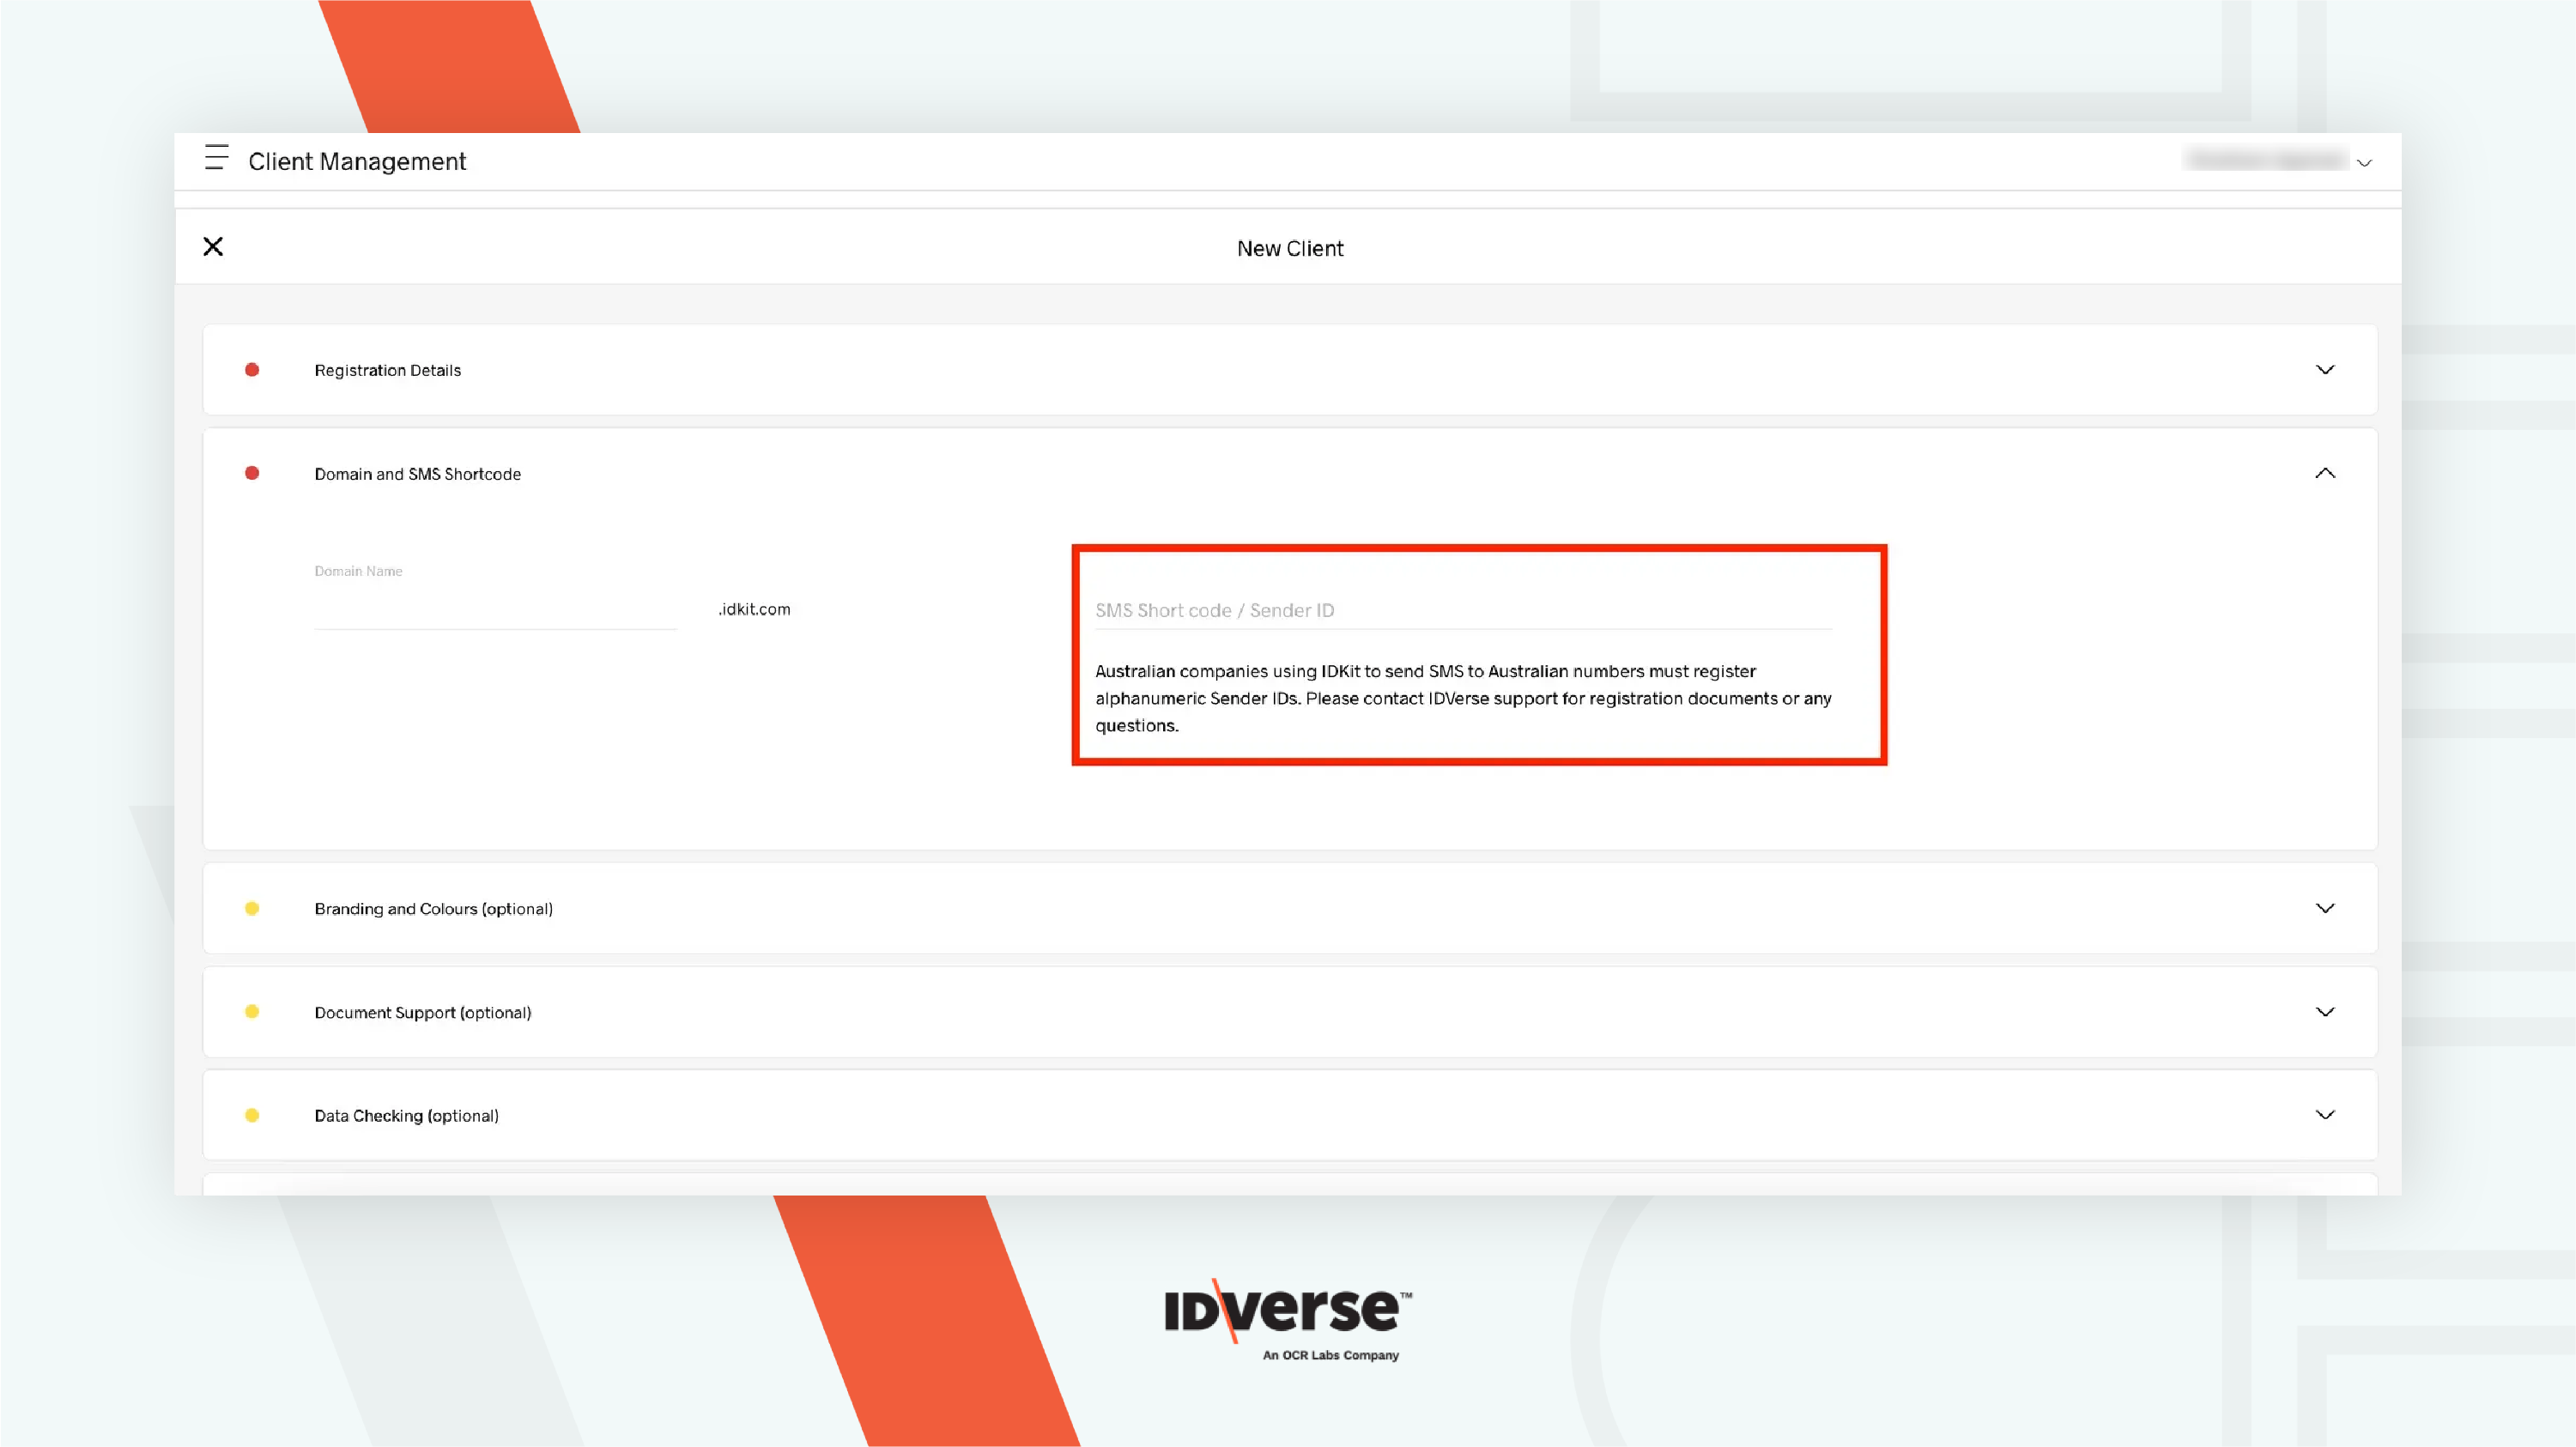
- Configure the Sender ID and Domain Name under “Domain and SMS Shortcode”. The domain name will be the subdomain of the unique link for the end user to access the ID verification flow. ease choose the client's domain name wisely, as it can't be changed later
Note:
- Sender ID should consist of a maximum of 11 characters without spaces. It is not mandatory.
- To avoid your SMS messages being blocked, Australian companies using IDKit to send SMS to Australian numbers must register alphanumeric Sender IDs. You may collect Sender ID registration details through onboarding form. Please contact IDVerse support for any questions.
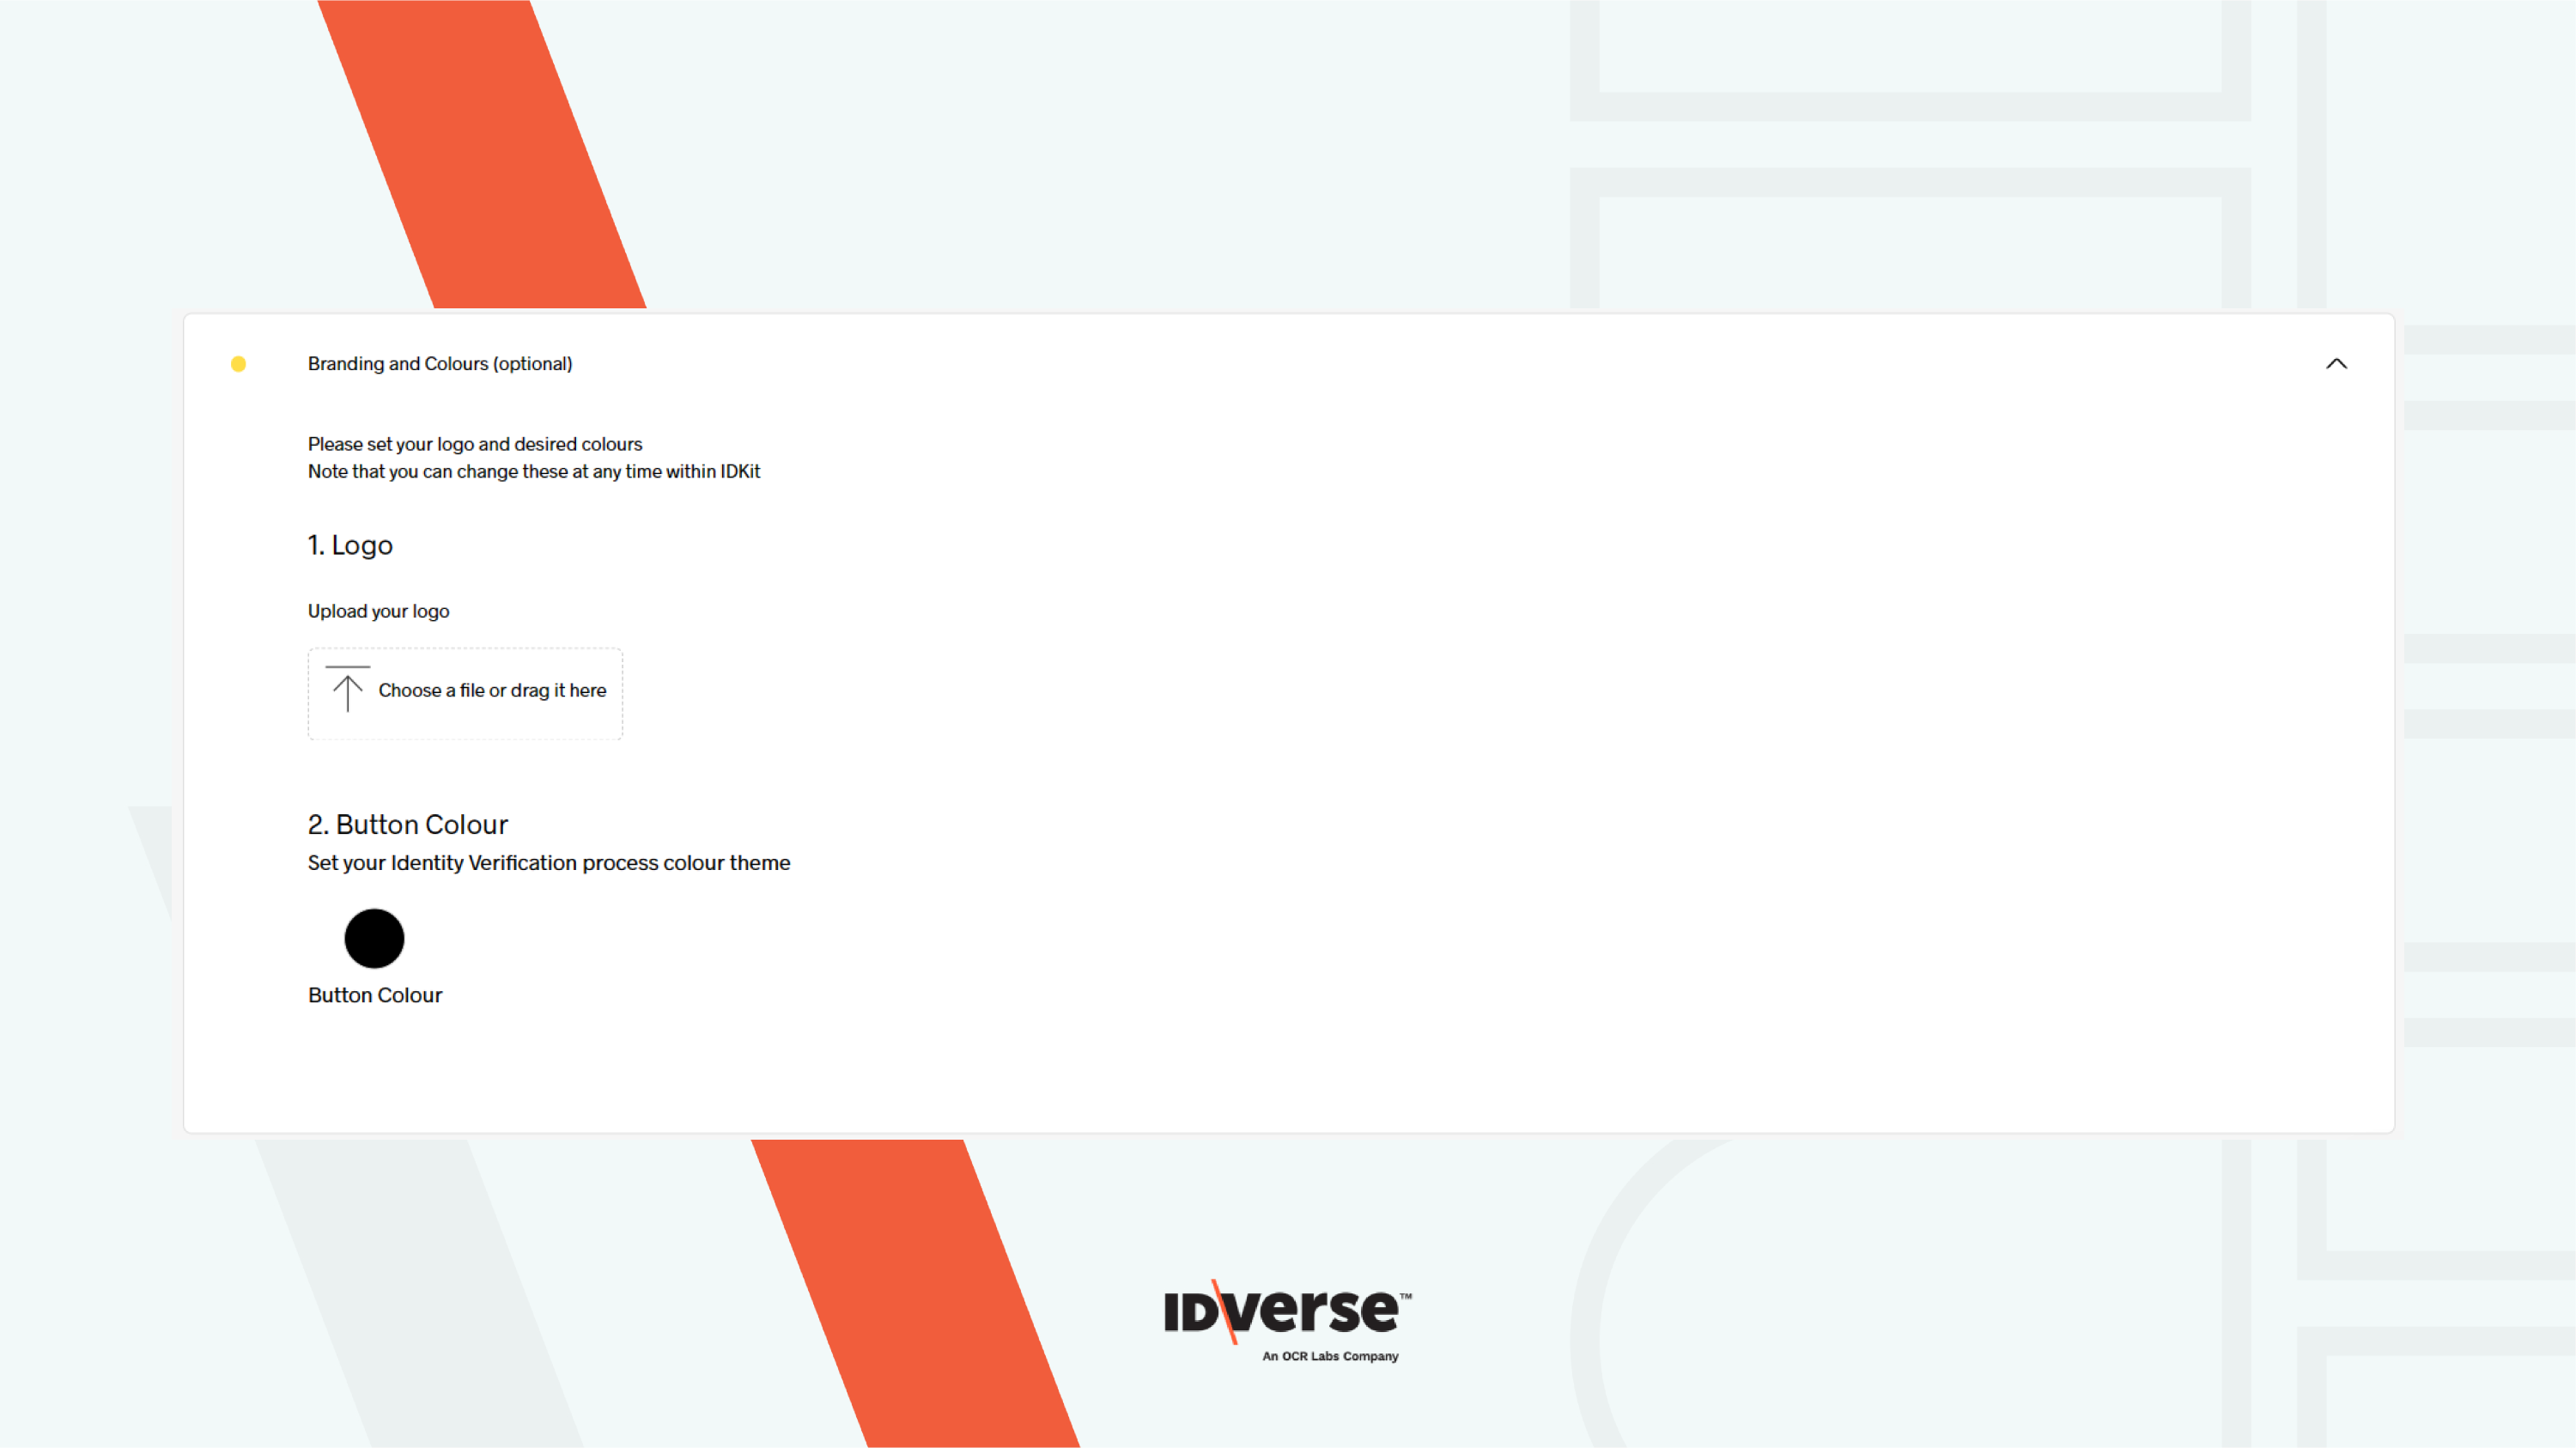
- You can upload your logo in the Branding and Colours section and select your desired button colour.
Note:
This part is optional, you can skip it.
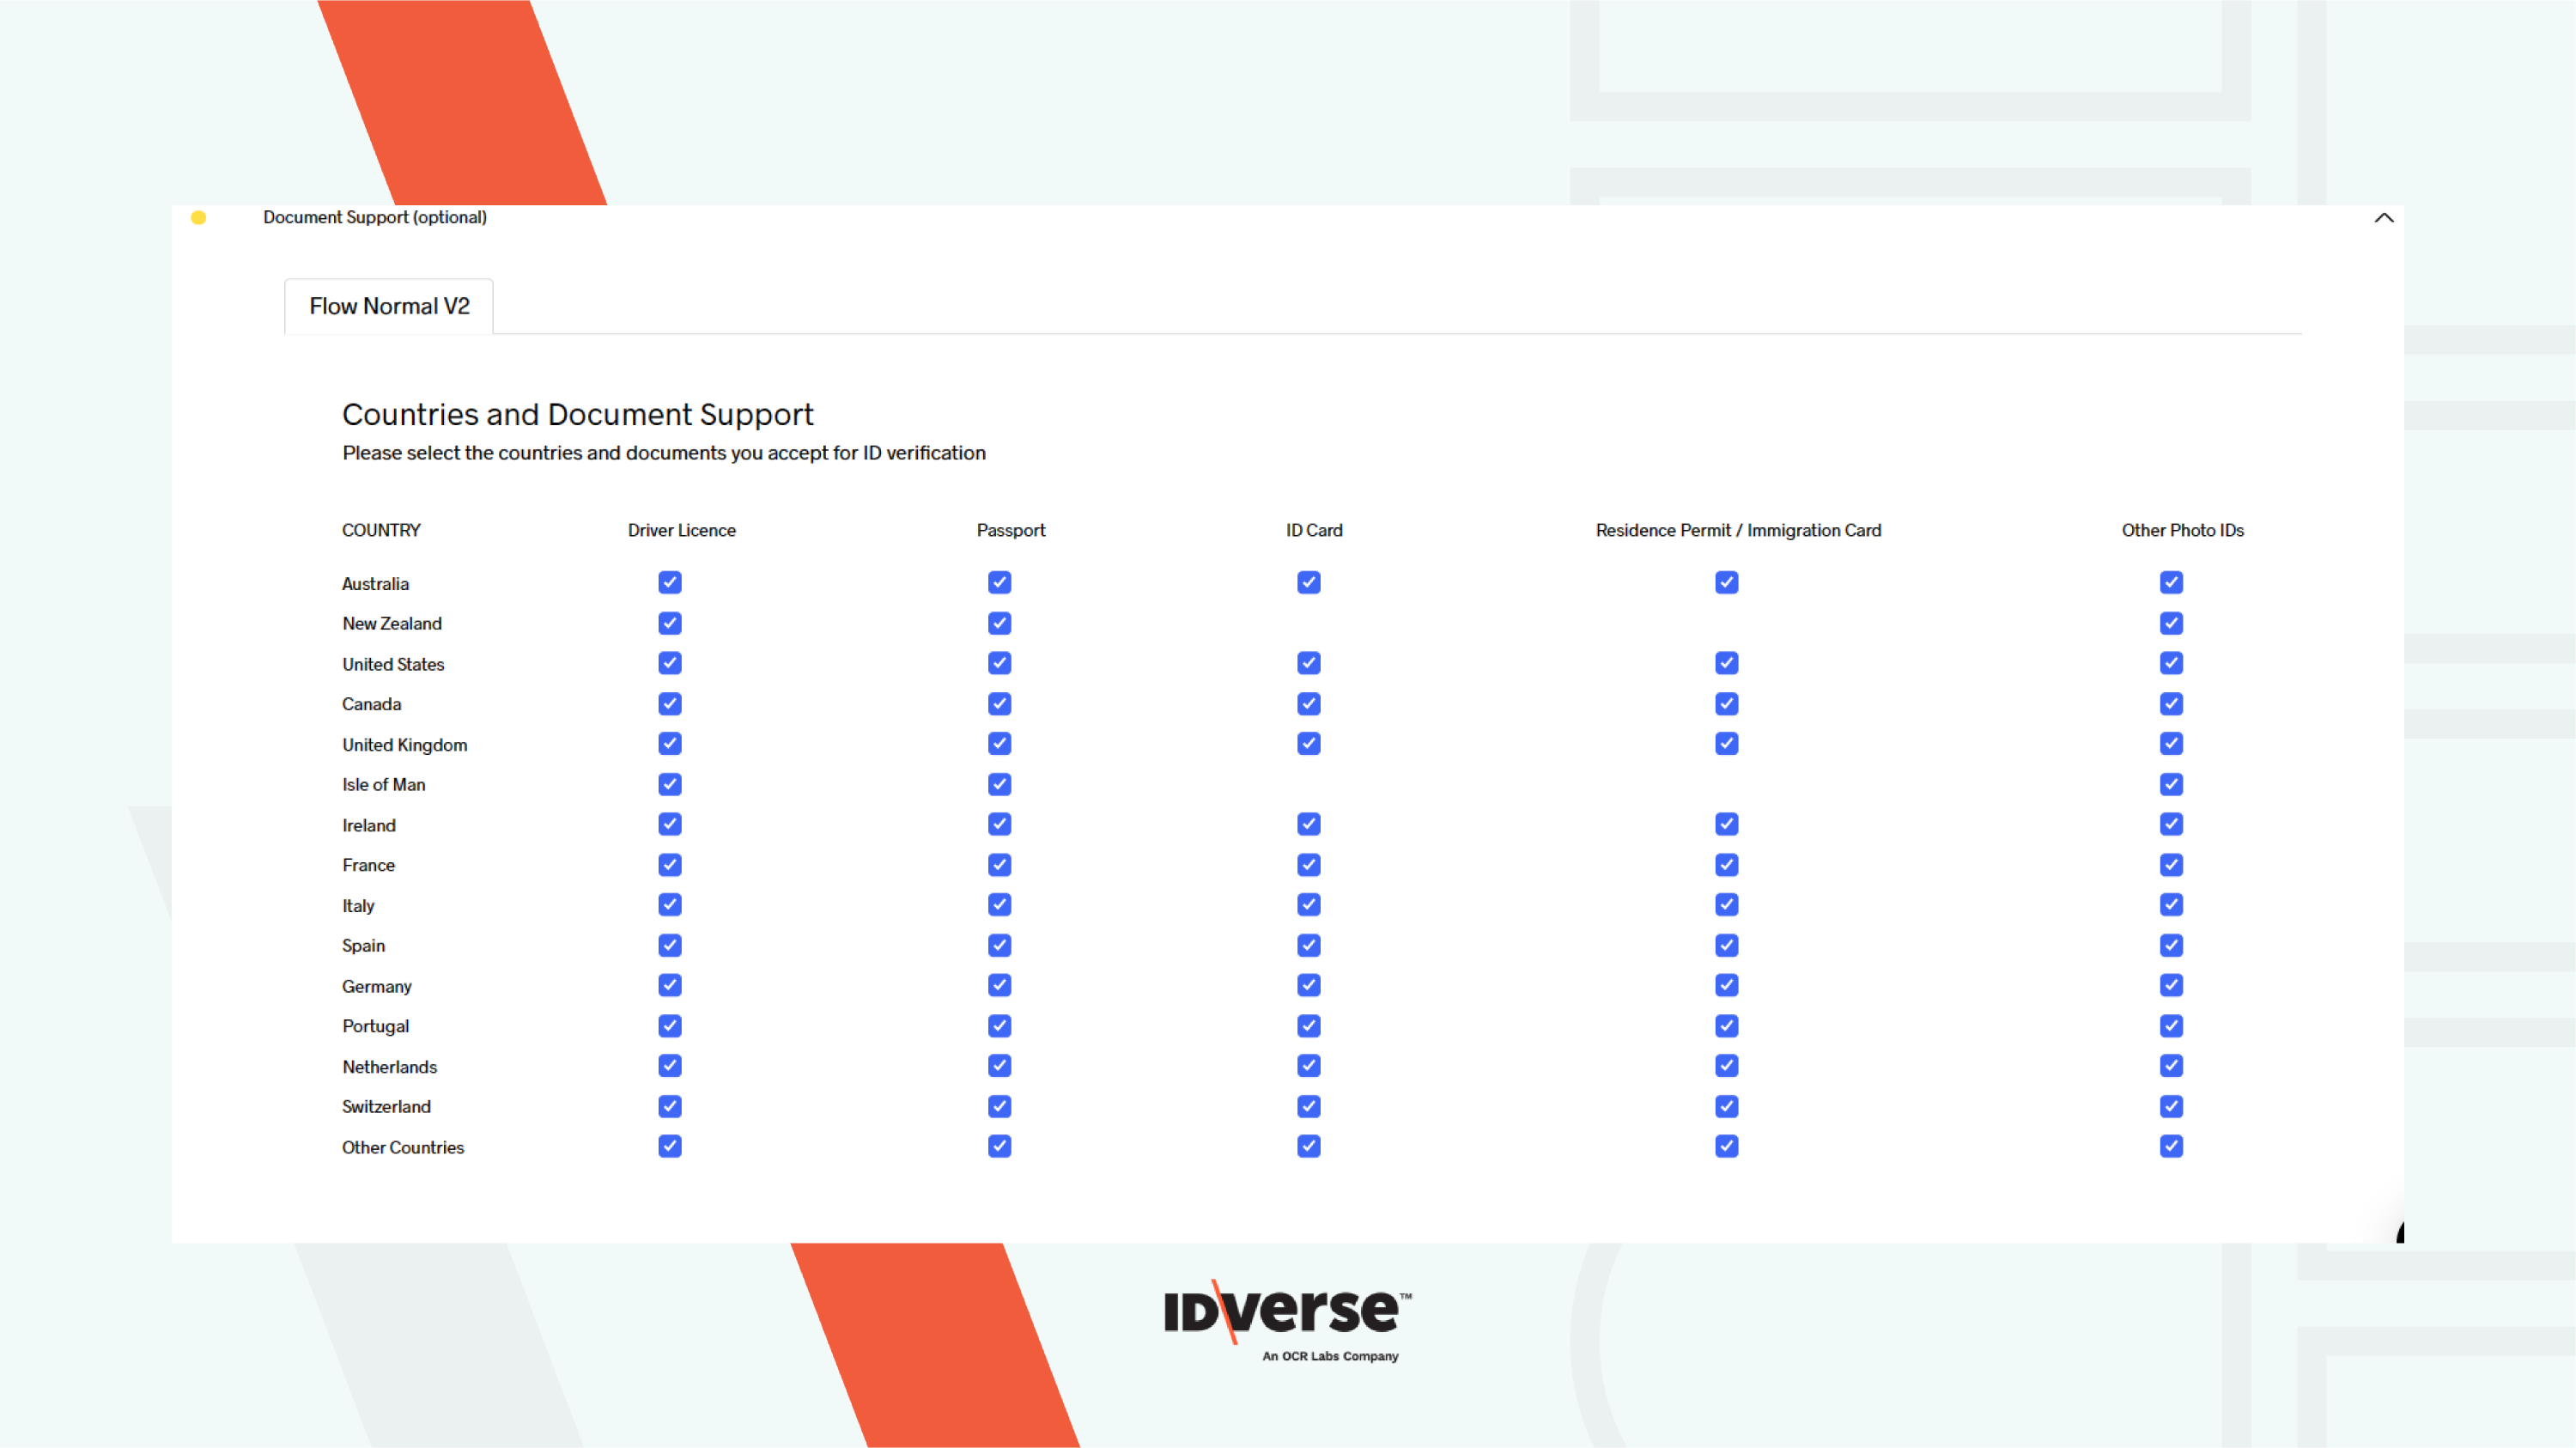
- In Document Support, you can specify the countries and documents you accept for ID verification.
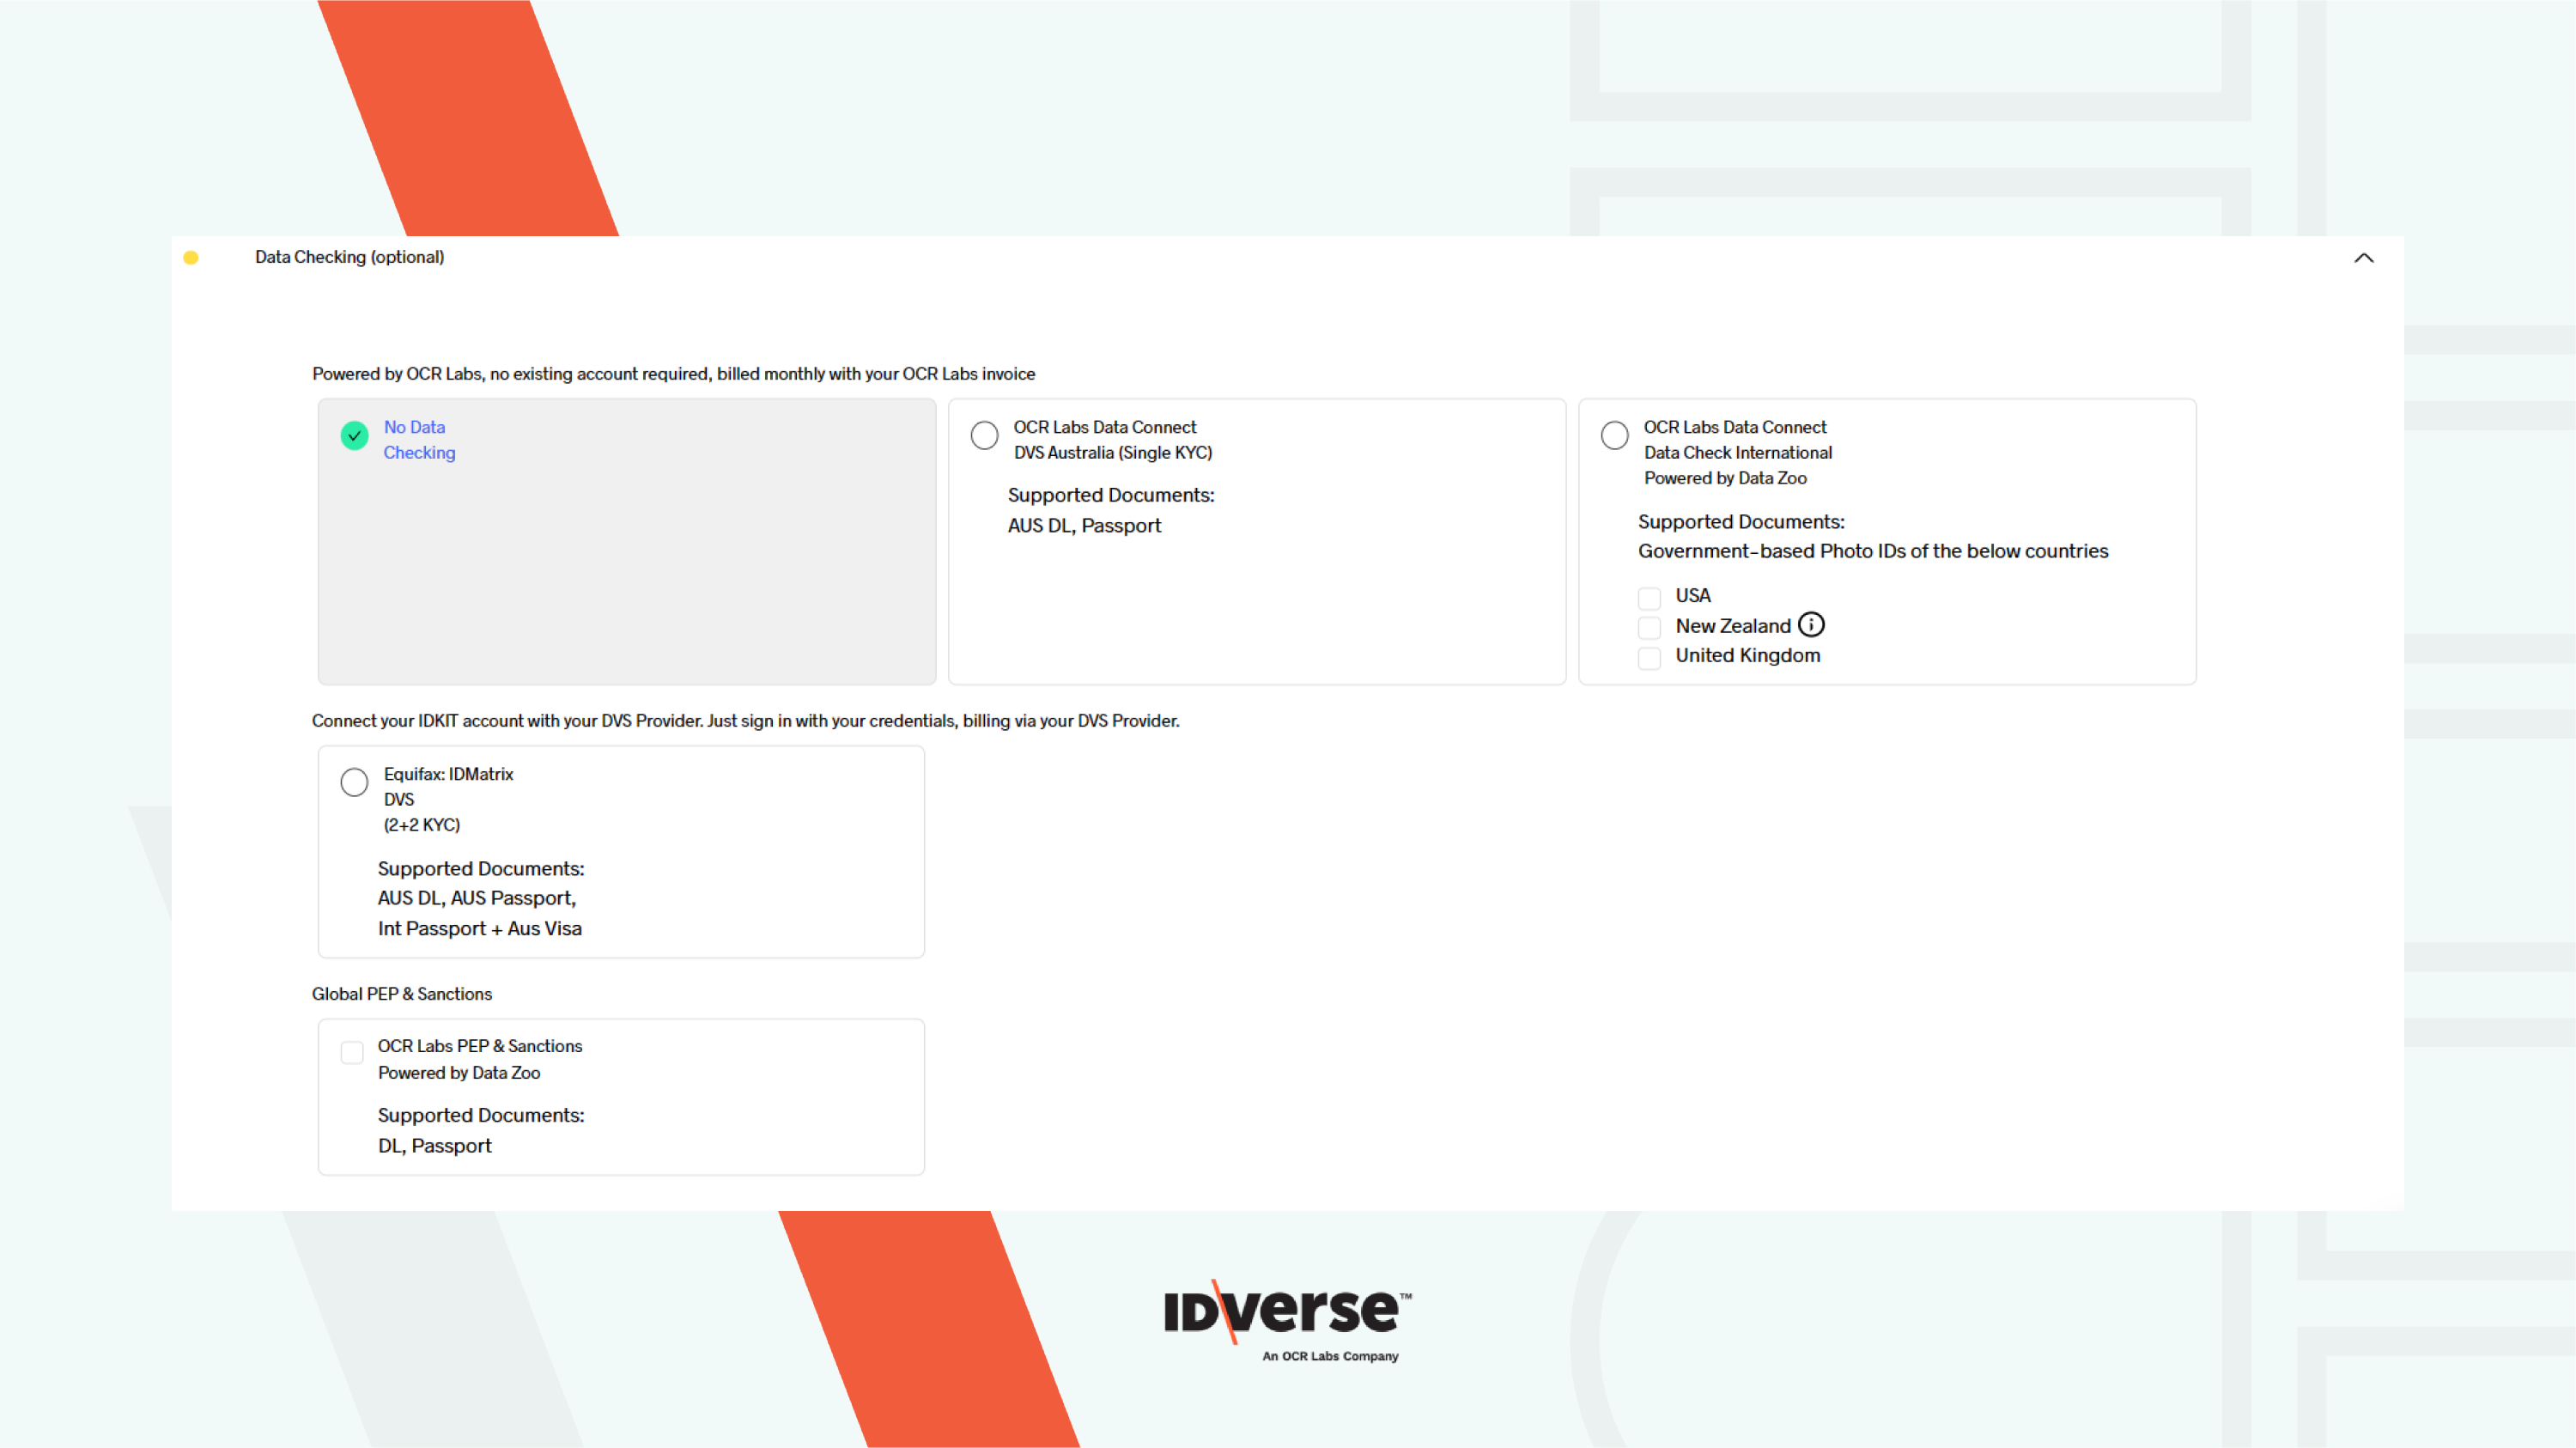
- In Data Checking, you can activate the Data Checking feature to check the user data with the IDVerse database,
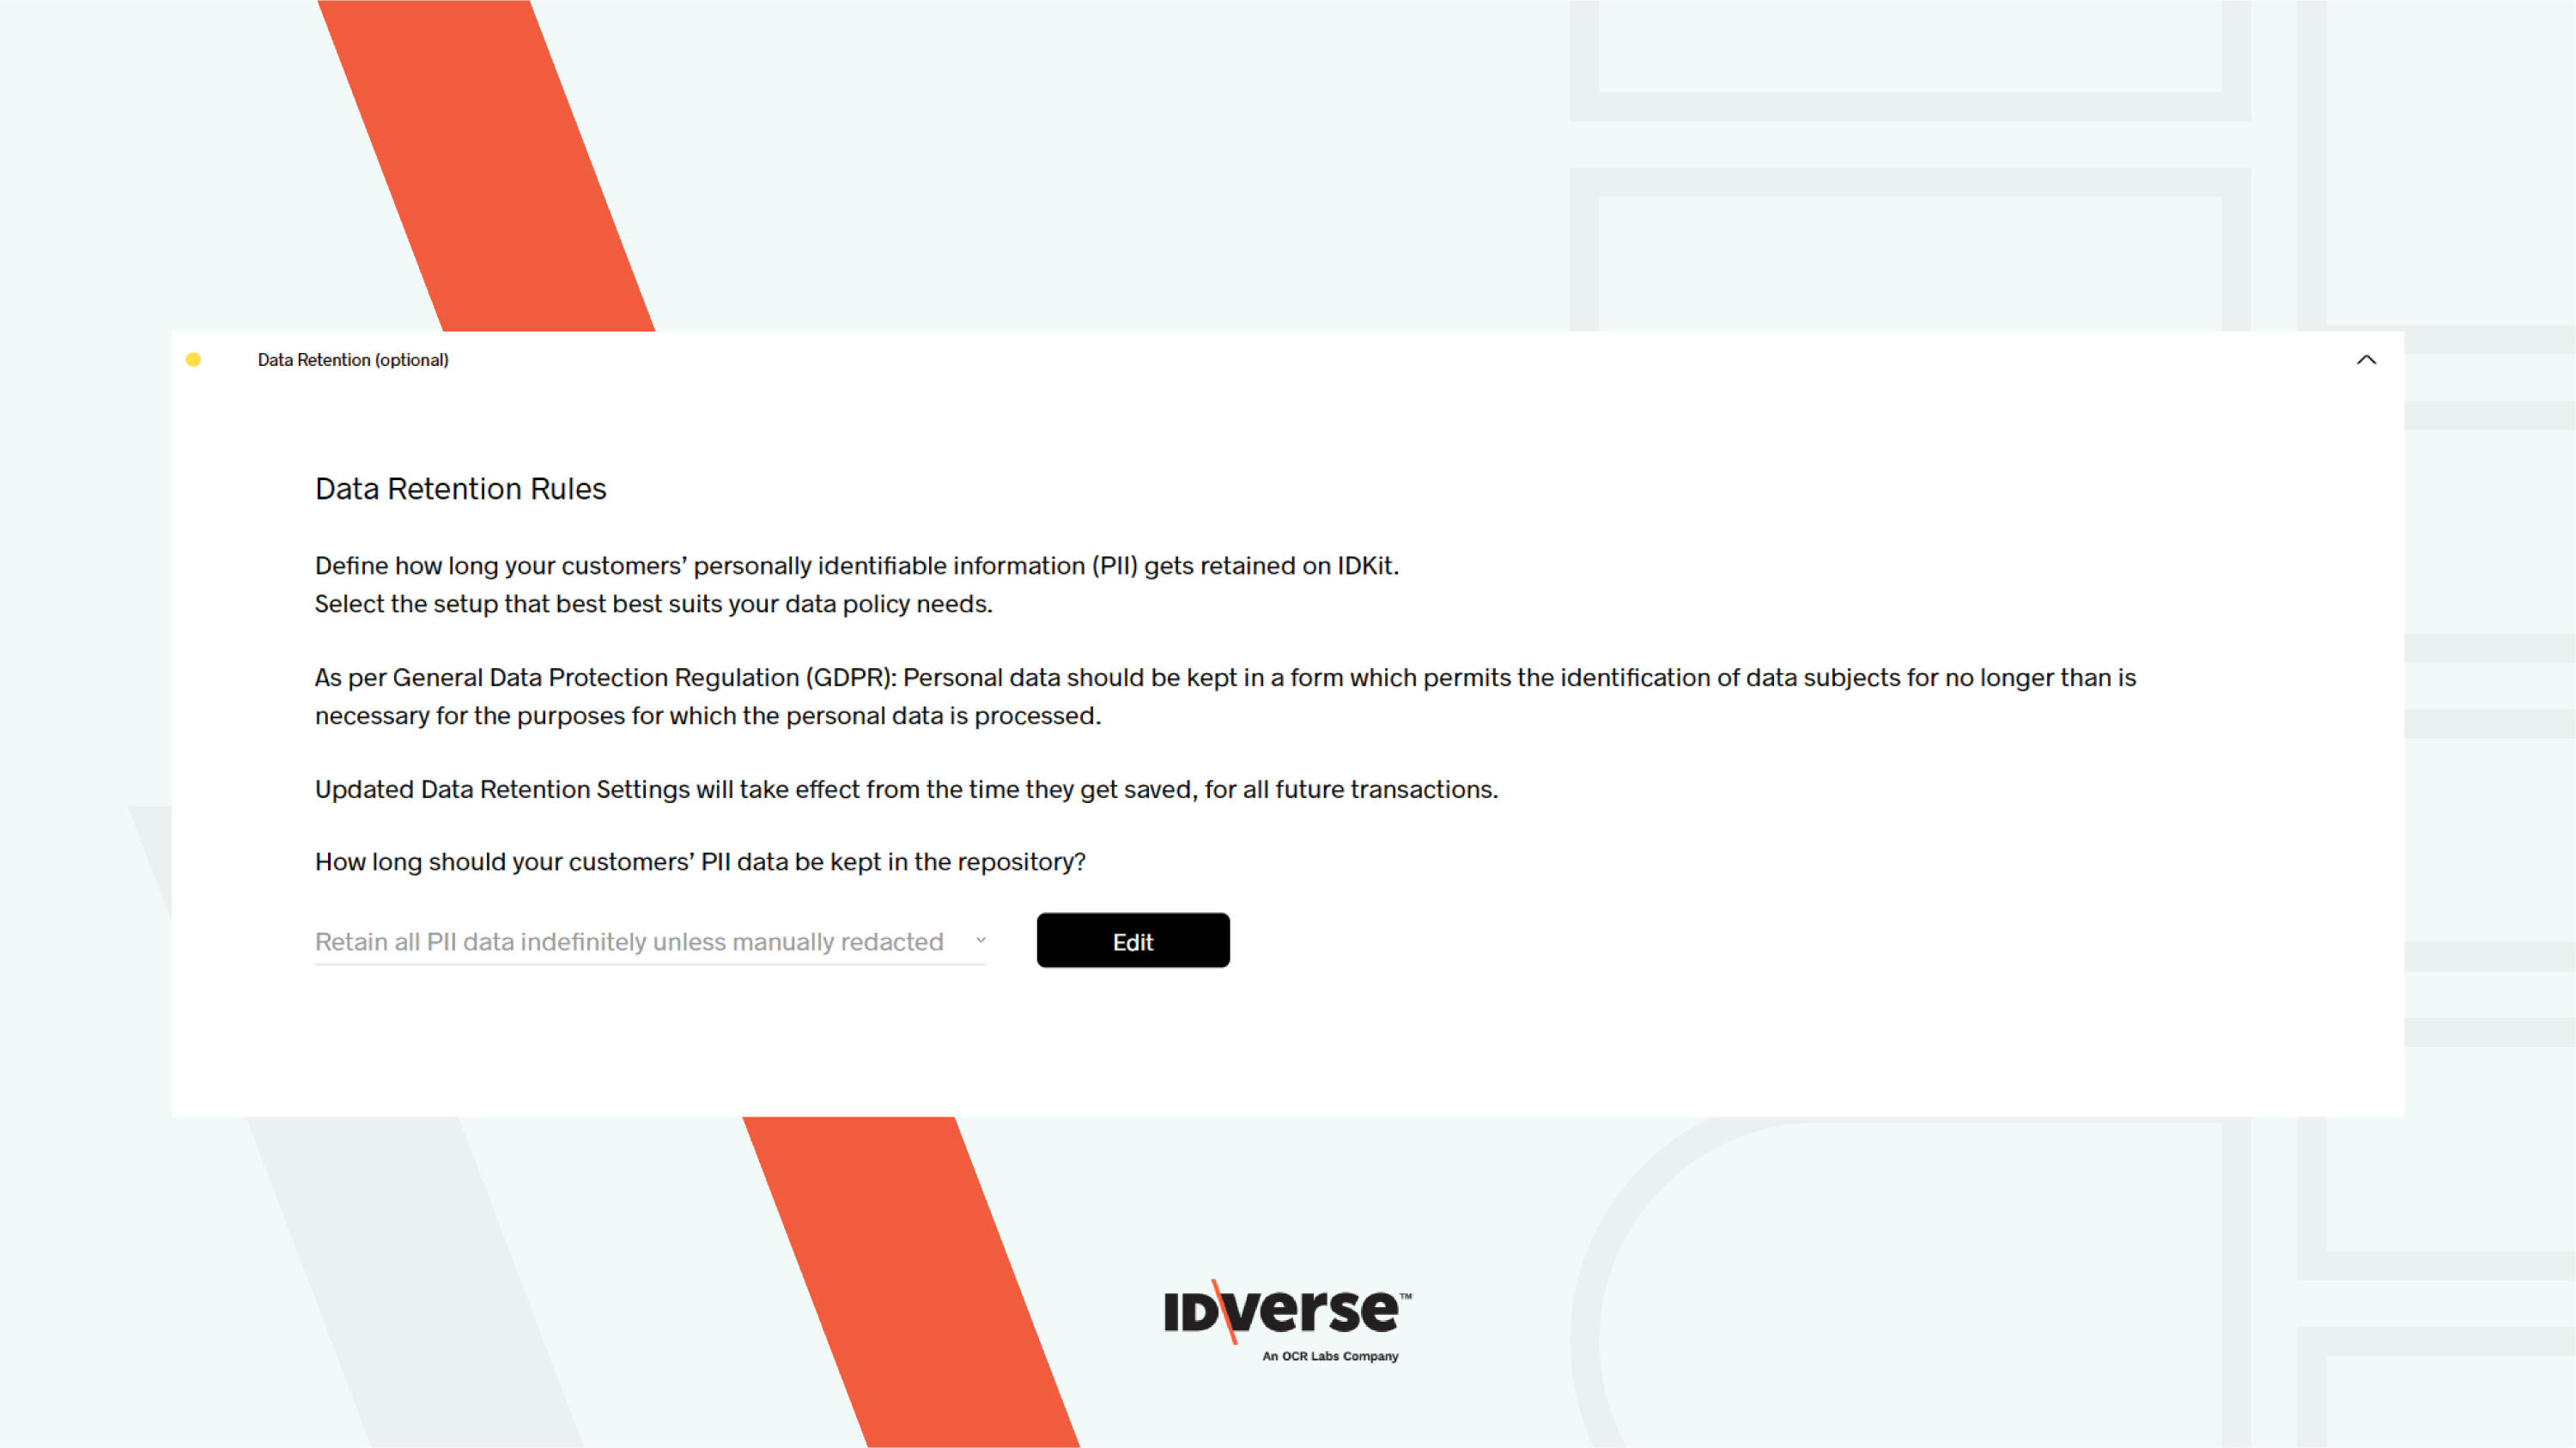
- In the Data Retention section, you can manage how long the clients' data should be kept in the repository based on the period you want.
- The Watermark section is optional. You can select whether or not you want to include a watermark in the PDF report.

- The Users section is required. You must fill in the client's information for the administration matters.

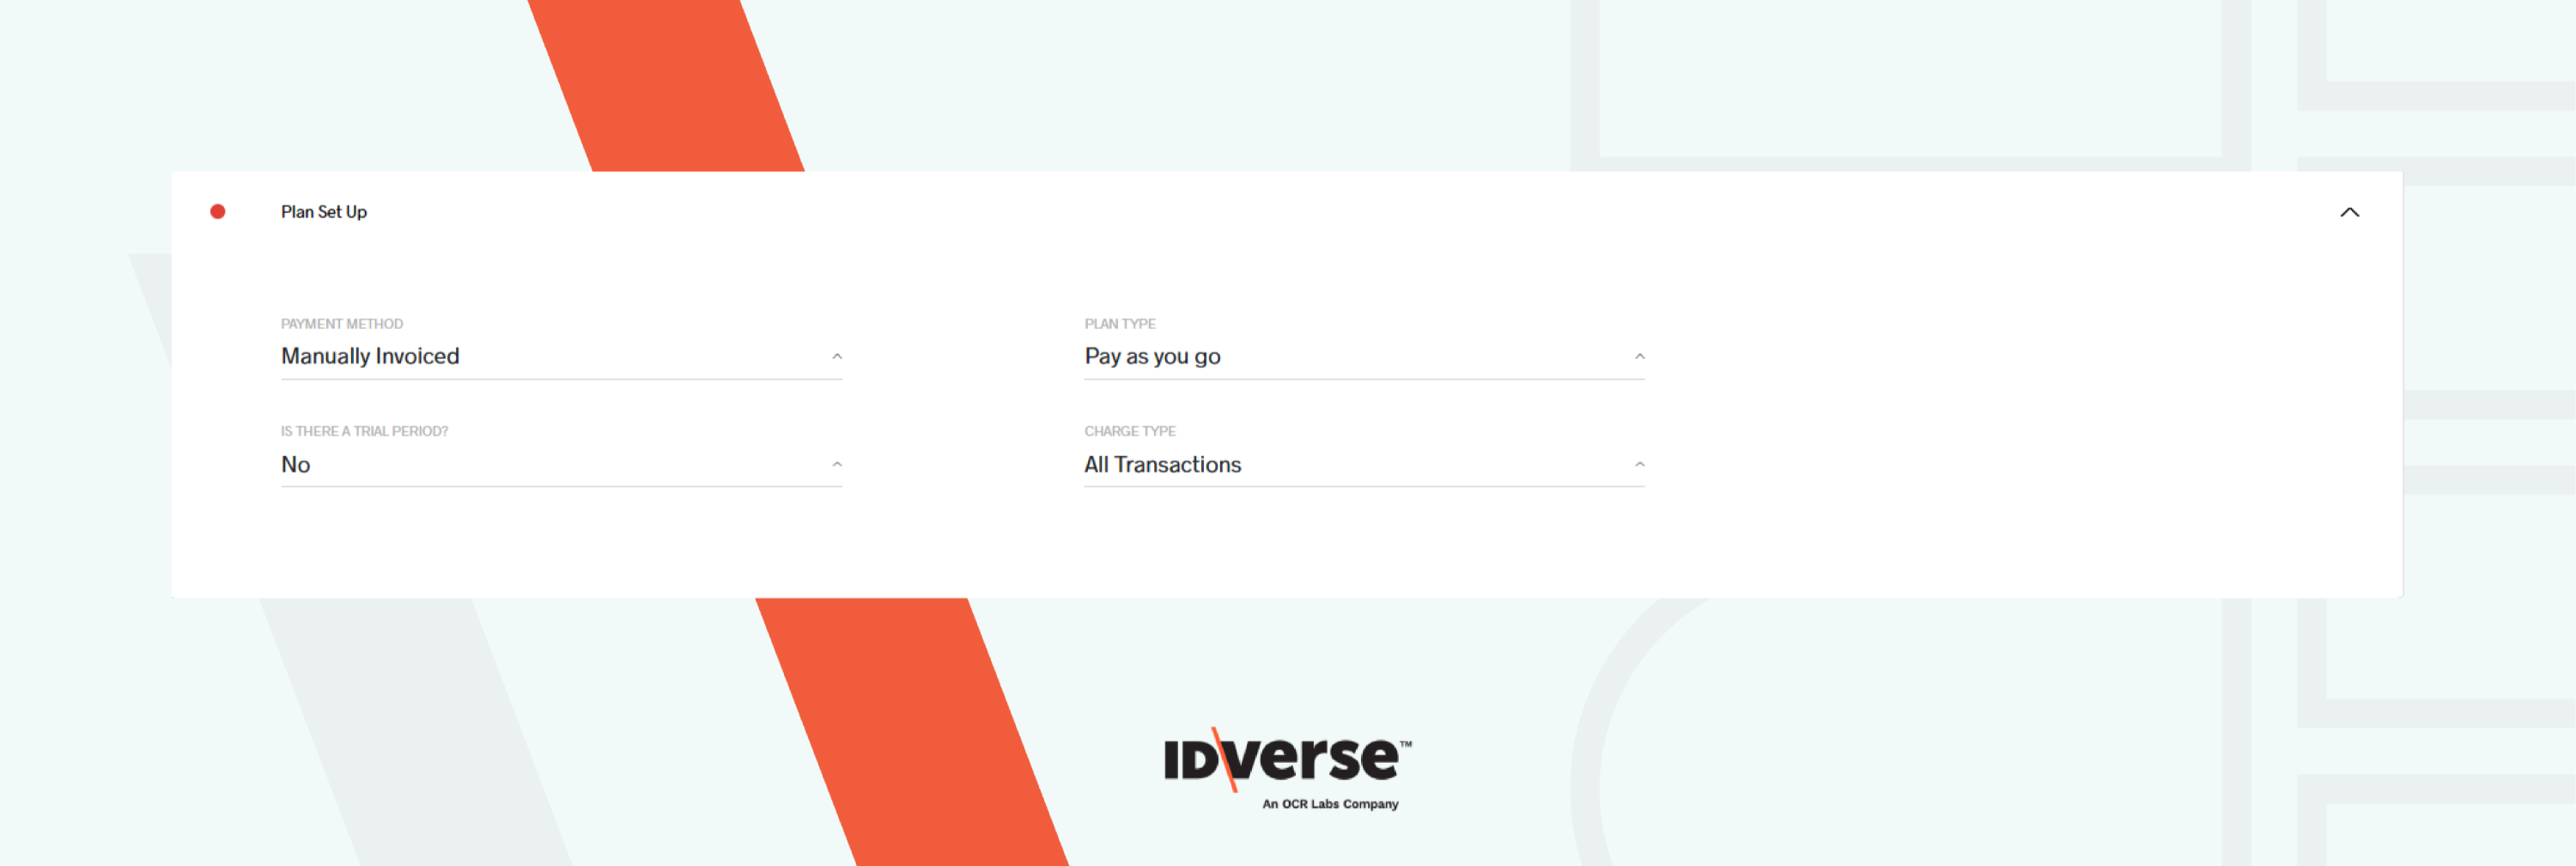
- The Plan Set Up section is also required for registering a new client. Select the following drop-down options regarding the billing and trial.
-
Is there a trial period?
This represents whether or not to provide the clients with a trial. The available options are 'yes' and 'no.' -
Payment Method
This represents the payment method that the clients can select for payment. The available options are 'Client CC Subscription' and 'Reseller invoiced for usage.' -
Plan Type
This refers to the reseller's decision on how to administer the payment. The current option is 'Pay as you go.' -
Charge Type
This refers to the reseller's decision on what charge to charge the client. The available options are 'All Transactions', 'Completed Transactions', 'Free Transactions', and 'Test Account'.
Step 2: Send the invitation to the new client.
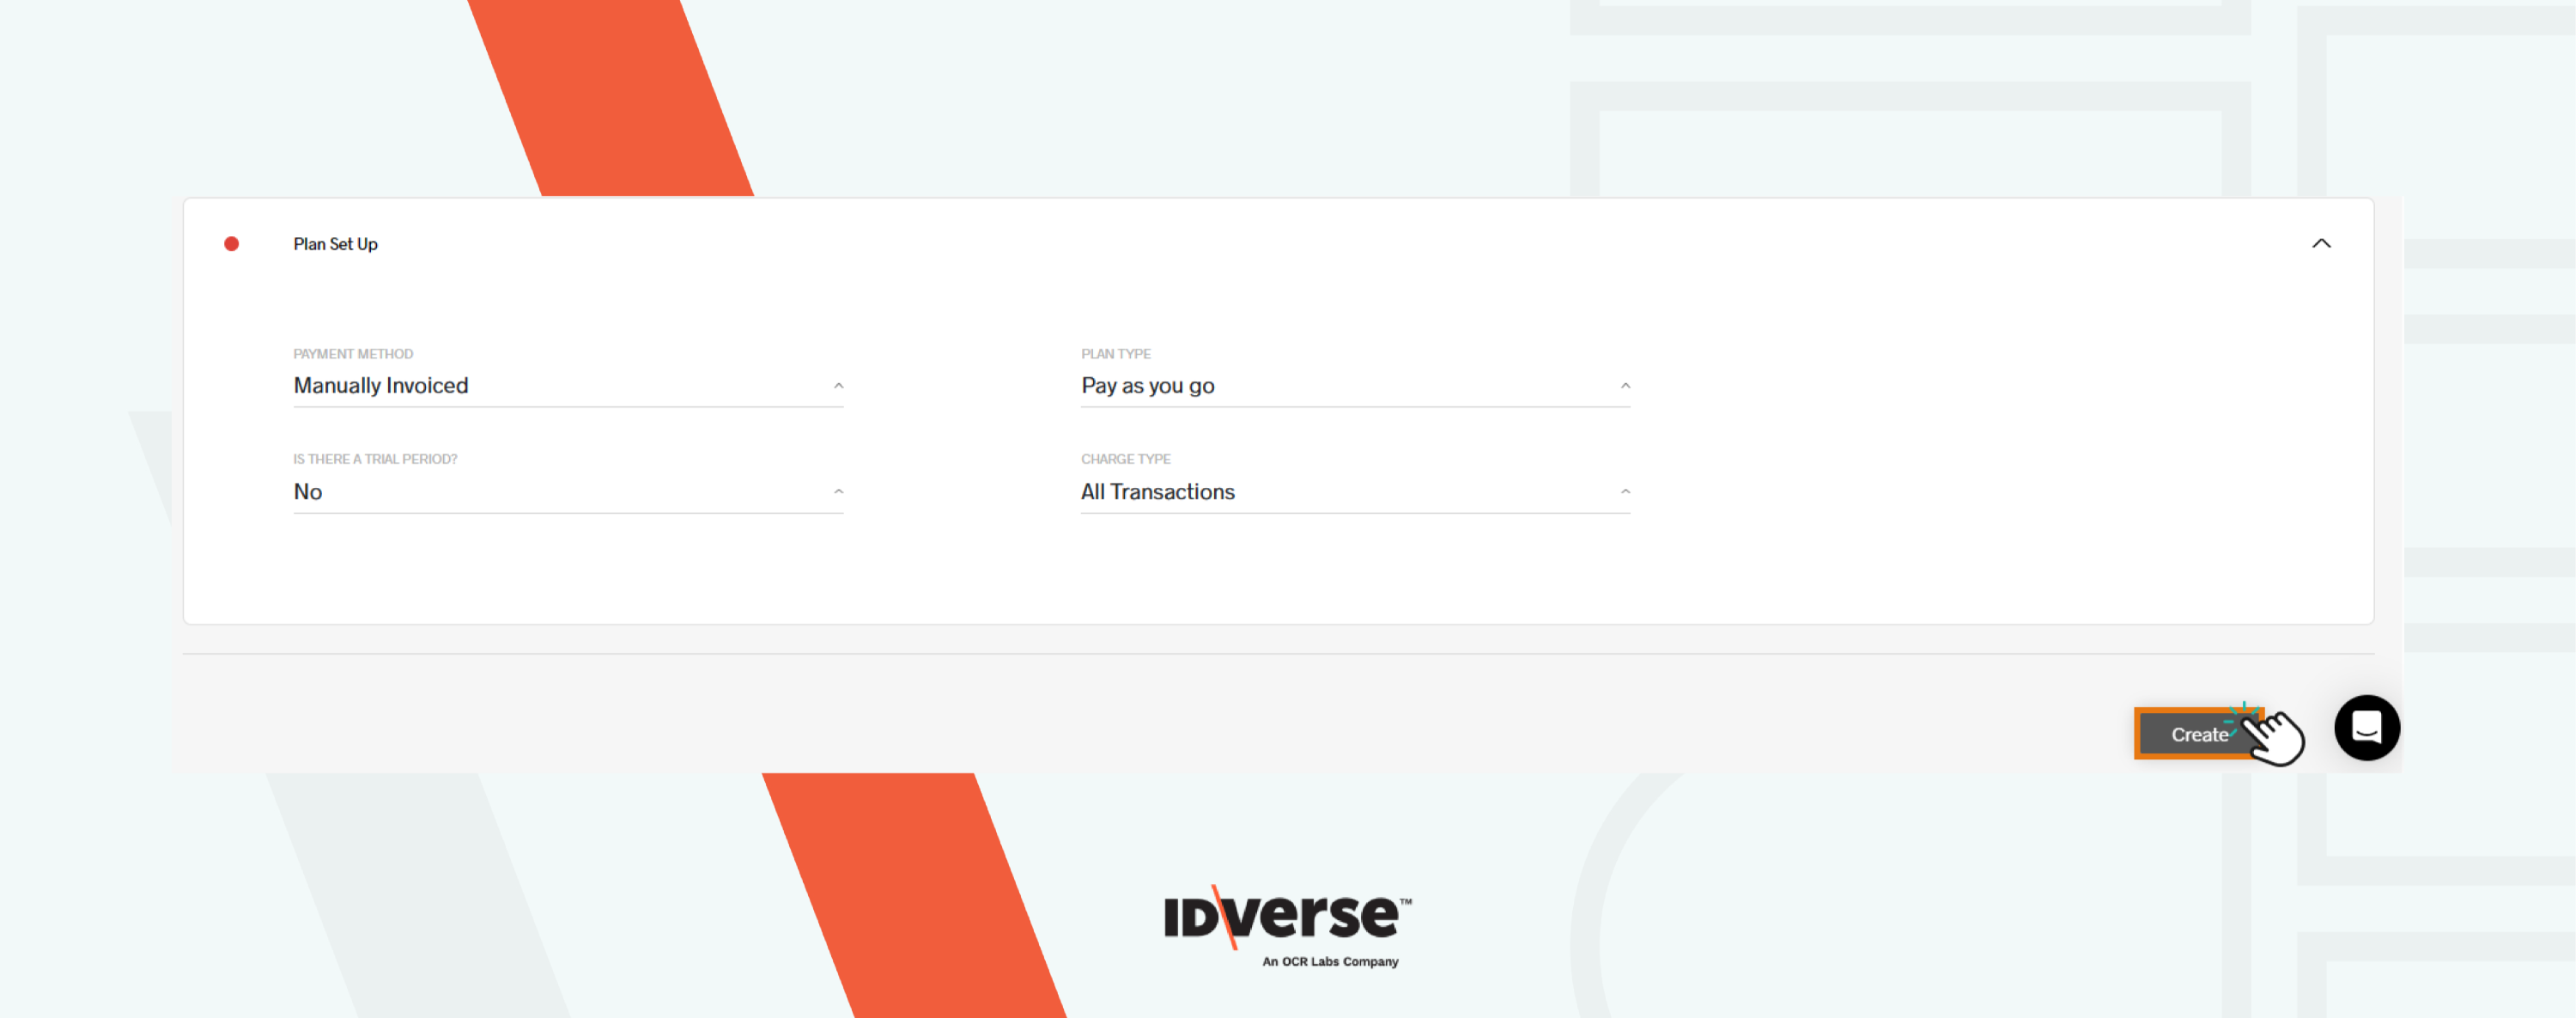
- Click the Create icon on the bottom right of the page.
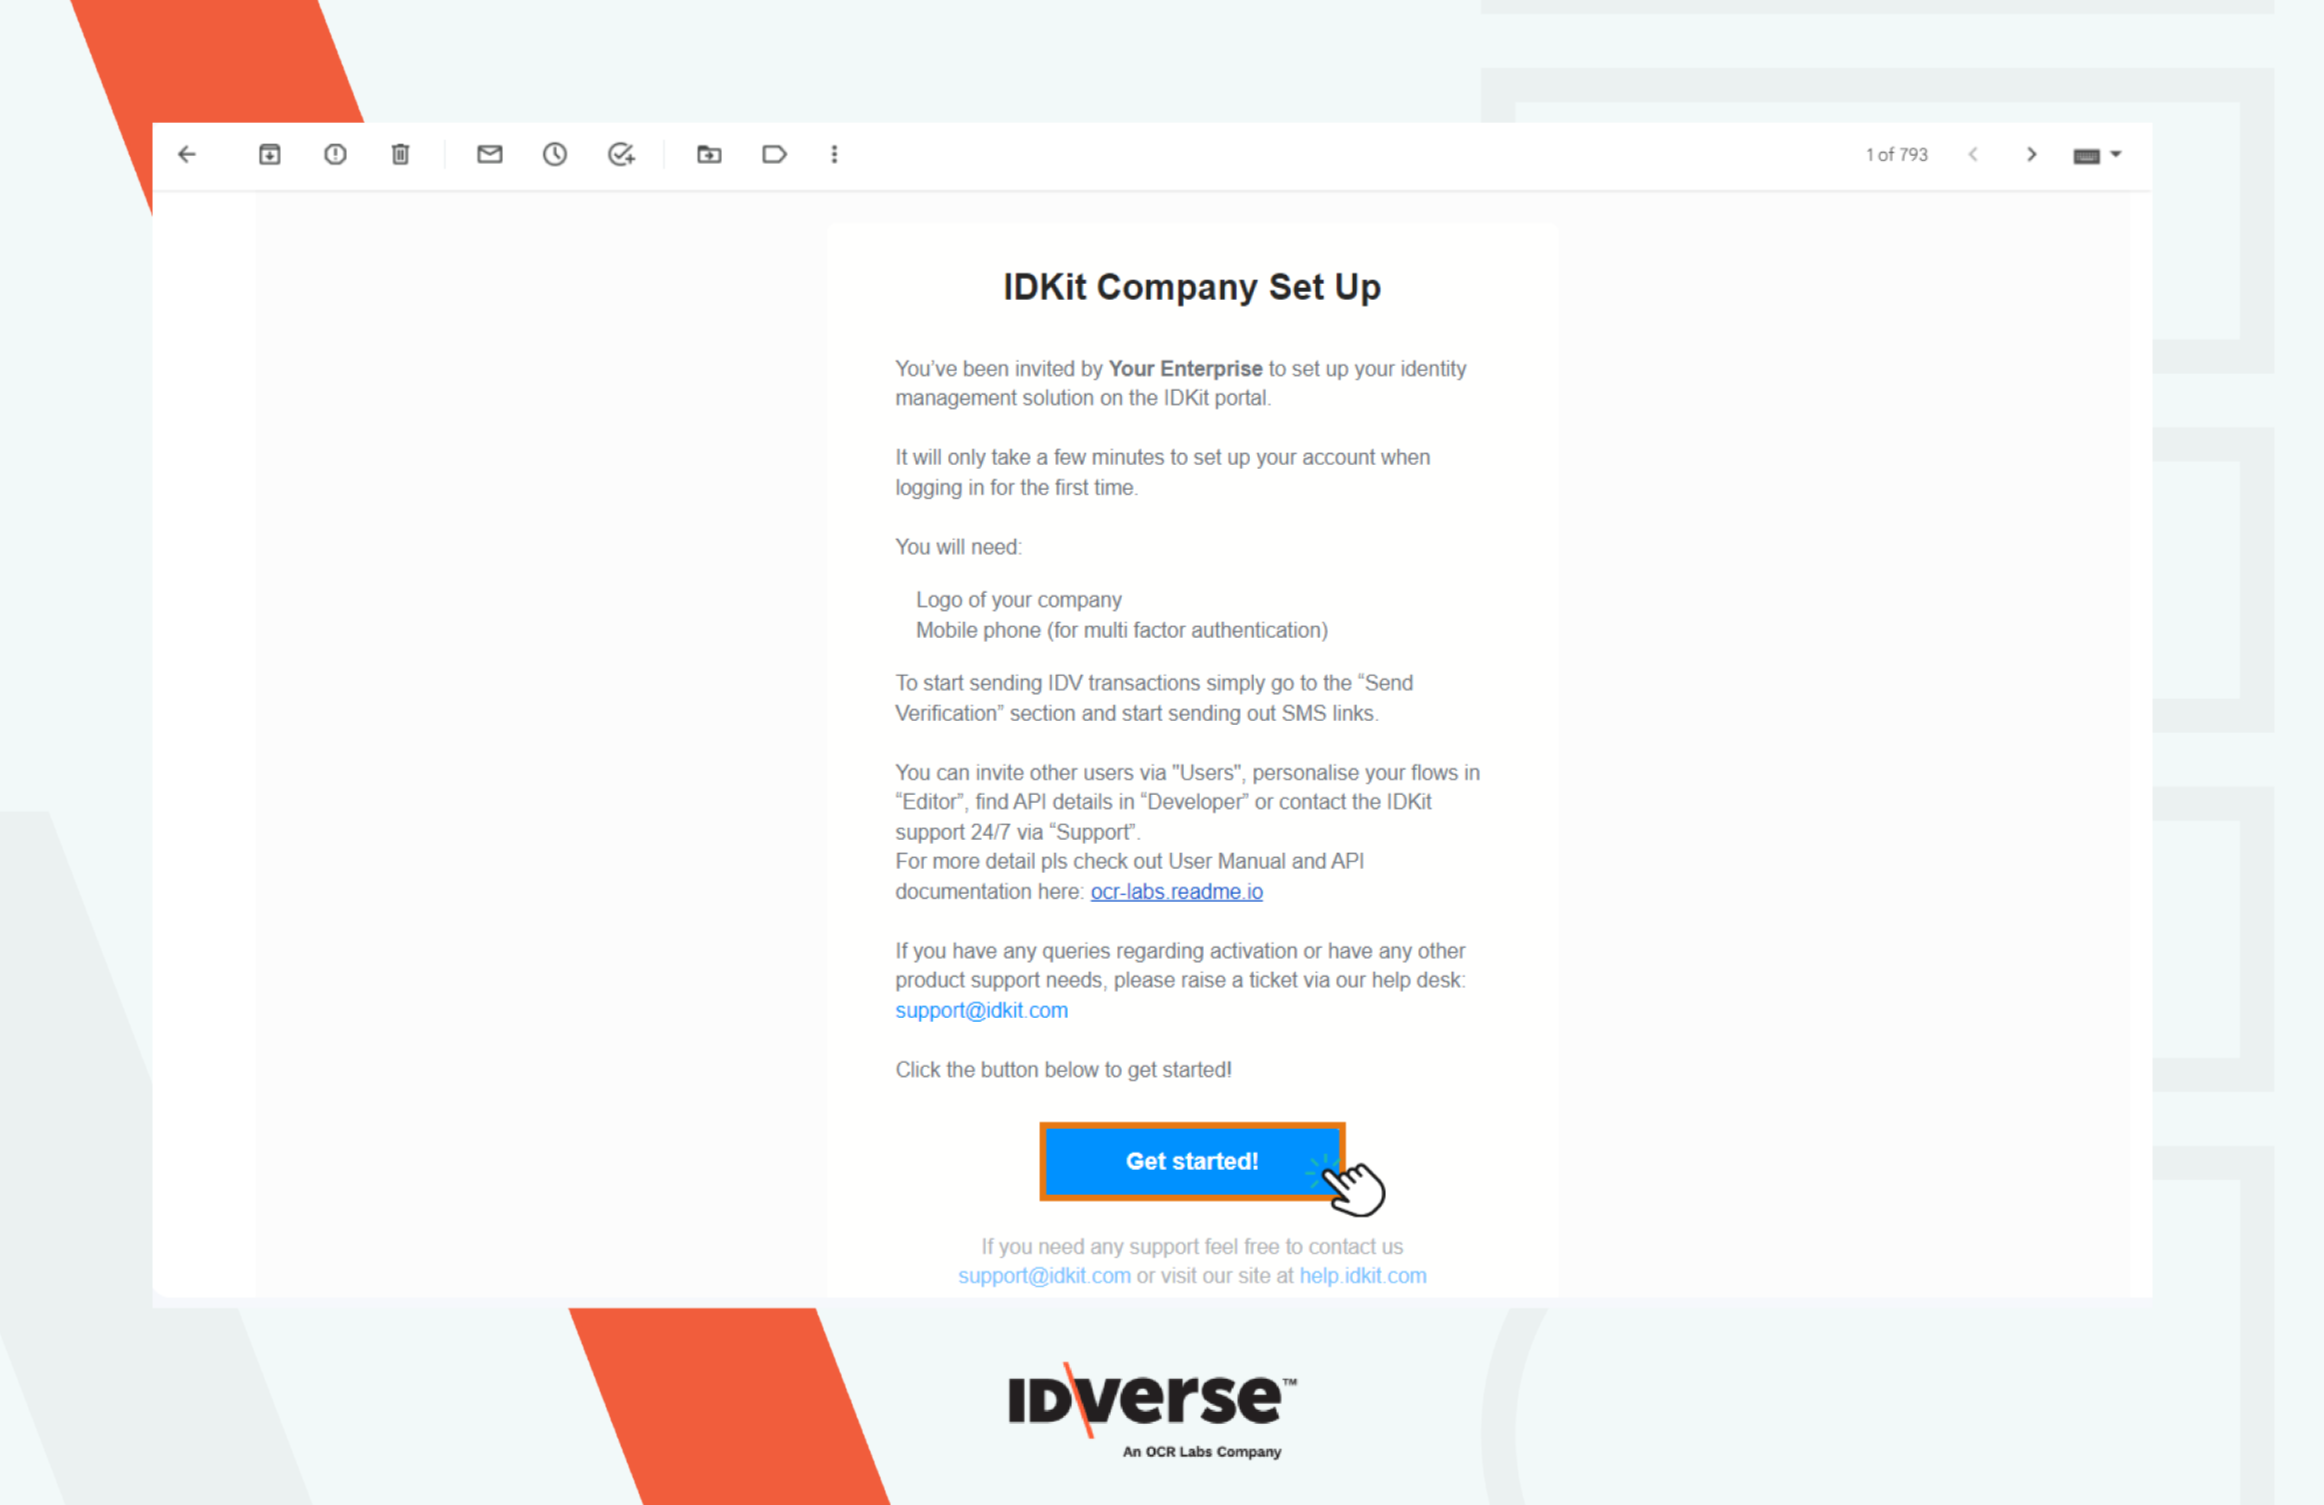
- An email will be sent to the client's email address.
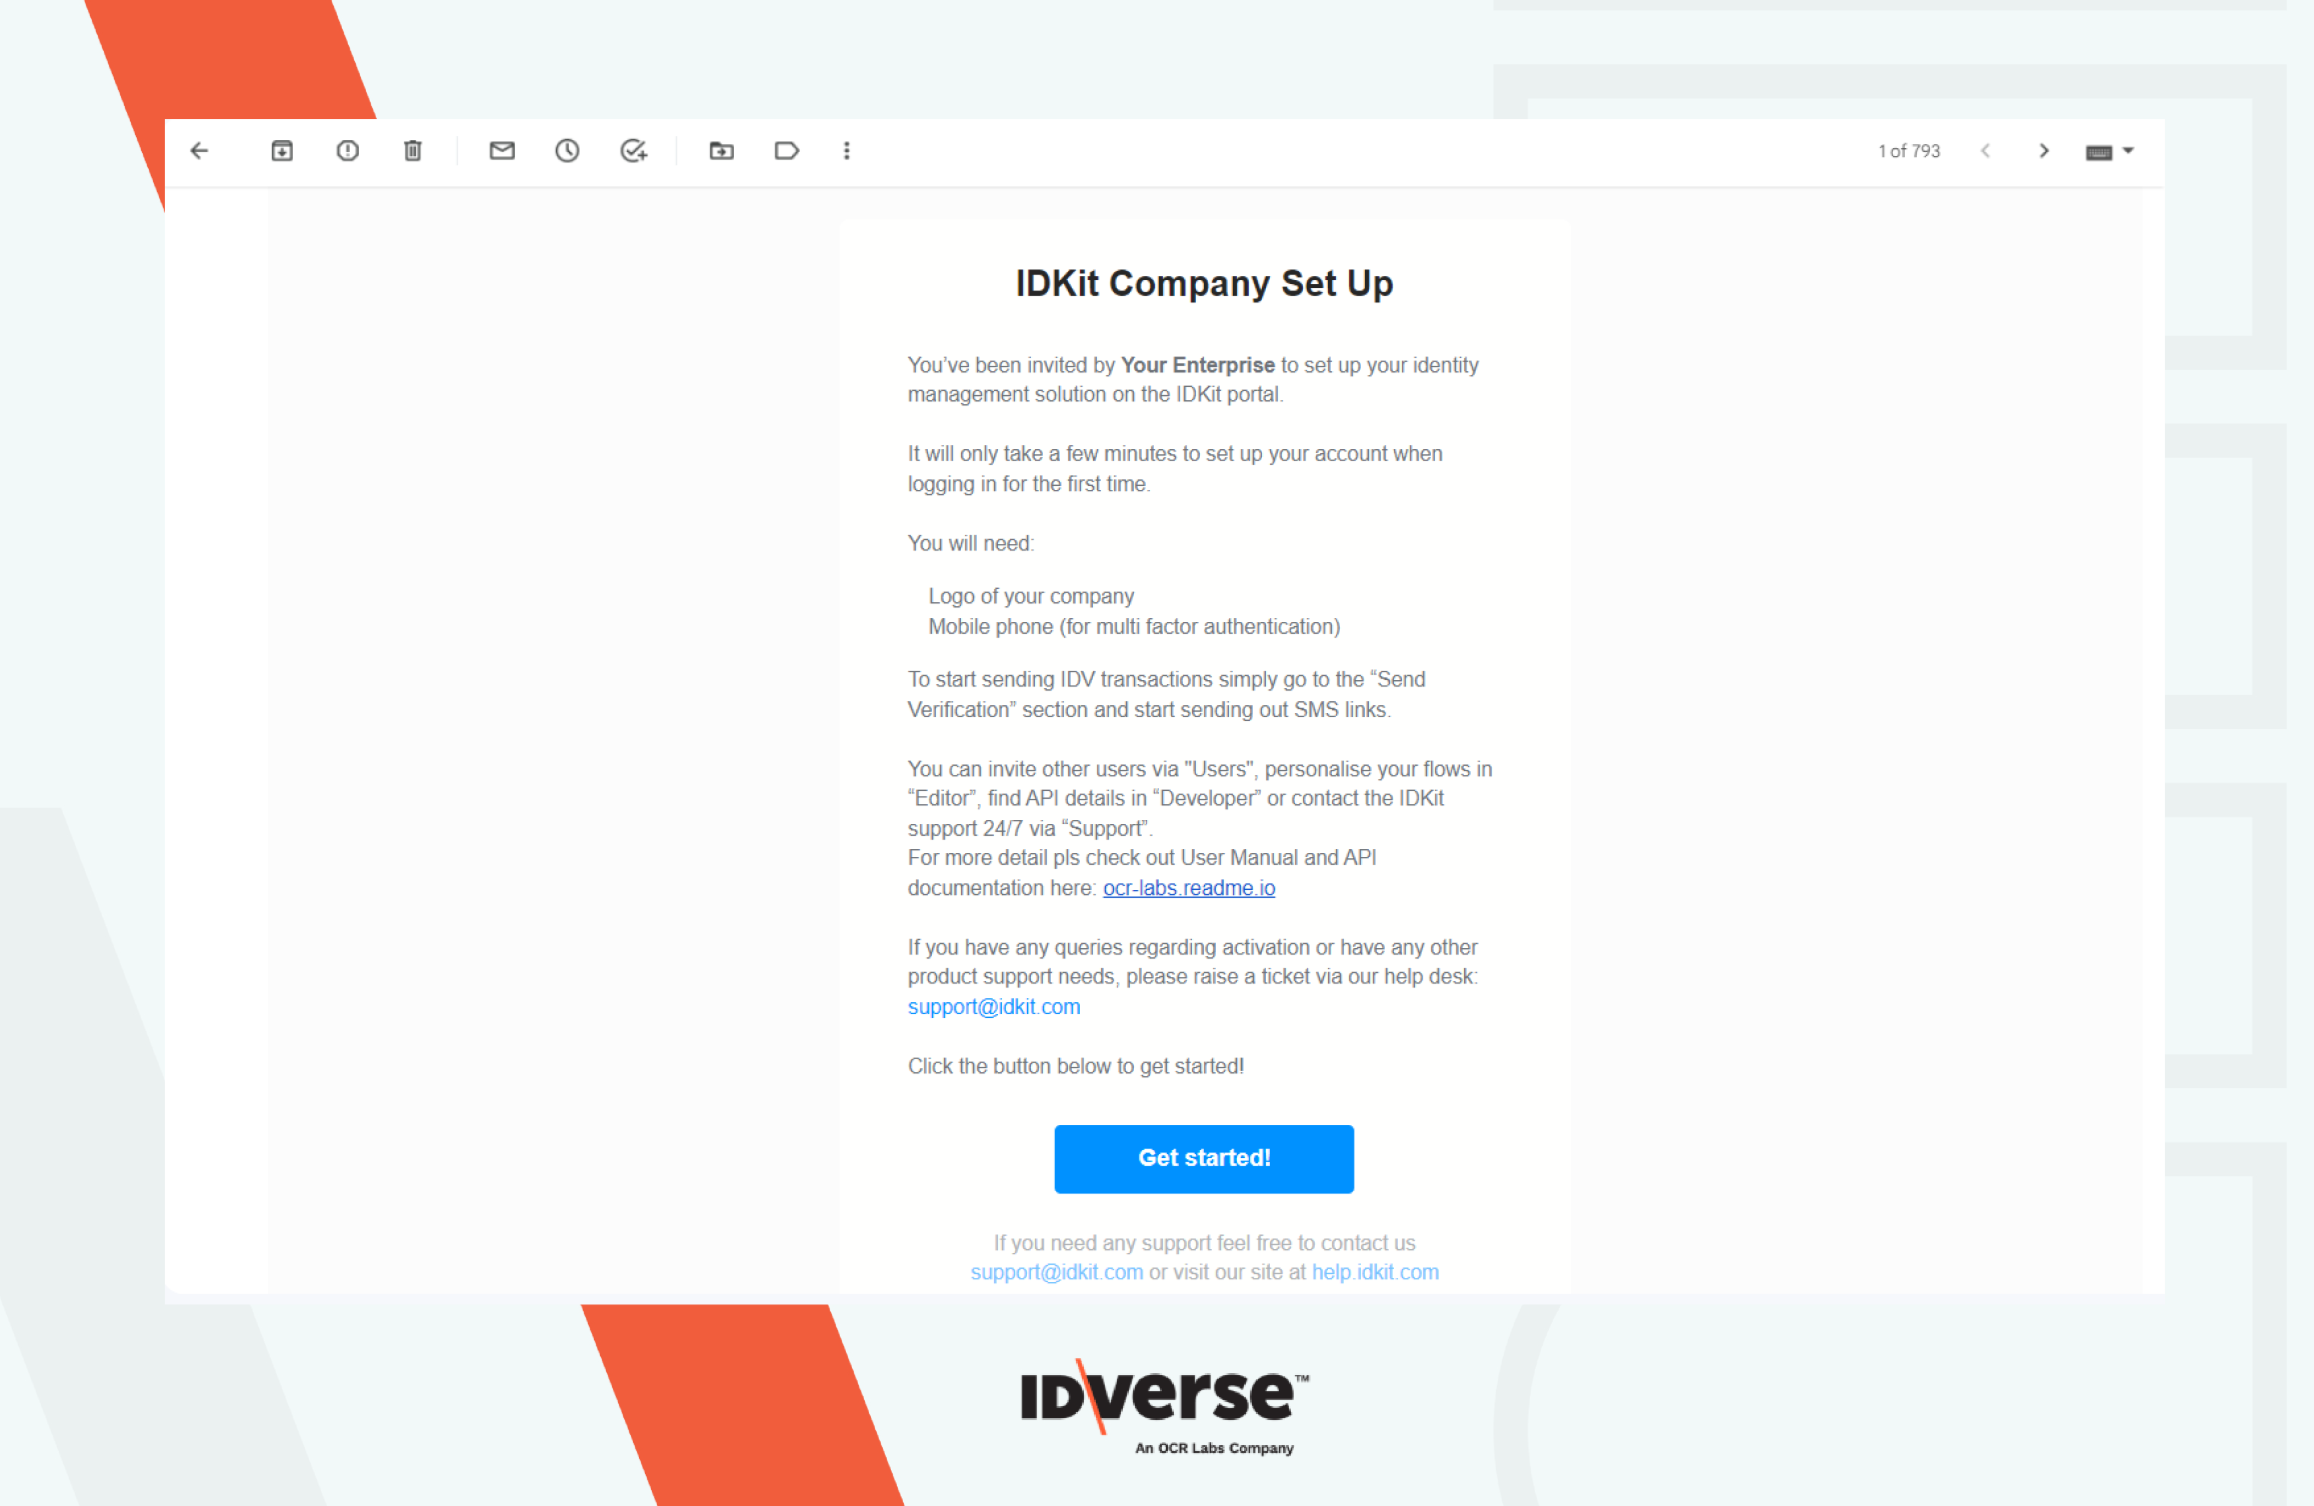
- Click the Get started! button.
